Showing posts with label Project Life CTMH Style. Show all posts

Friday, July 19, 2013

Project Life CTMH Style Weeks 6, 7, and 8

How has your summer been so far? Relaxing? Busy? Mine has been a bit of both. I've had periods where I could really enjoy some down time and some periods where it's been pretty full--but all in good ways.

I had my Kids' Summer Scramping Art Camp during the first week in July and it was a lot of fun, but of course it kept me busy. I'll post some pictures from that soon. And I'm doing another one in August! We'll be using a lot of the items from the new catalog in August, like the jewelry making supplies. I'm really looking forward to it!

During some of my downtime, I've had the opportunity to do a little catch up with my Project Life layouts. Yay! We're on Week 29 in the year and I think I'm on Week 15 in my scrapbook. That's good for me!

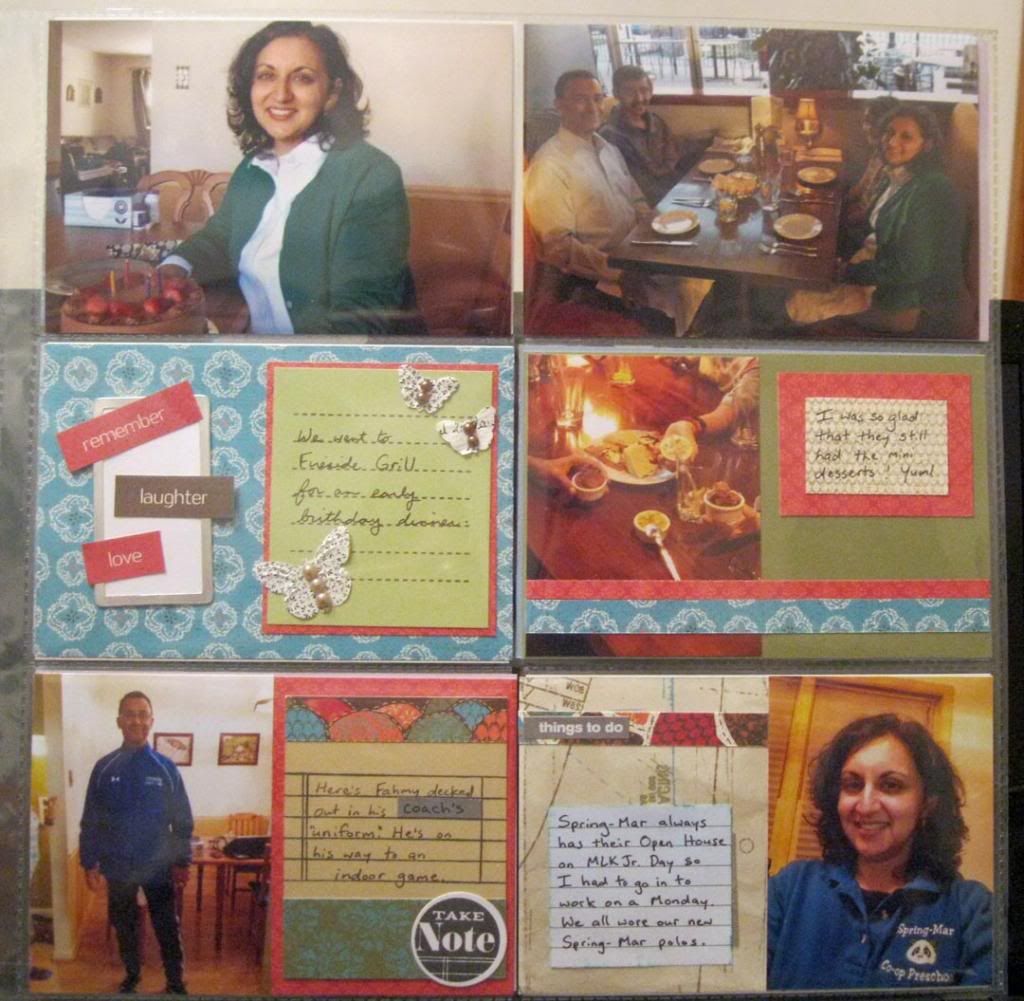
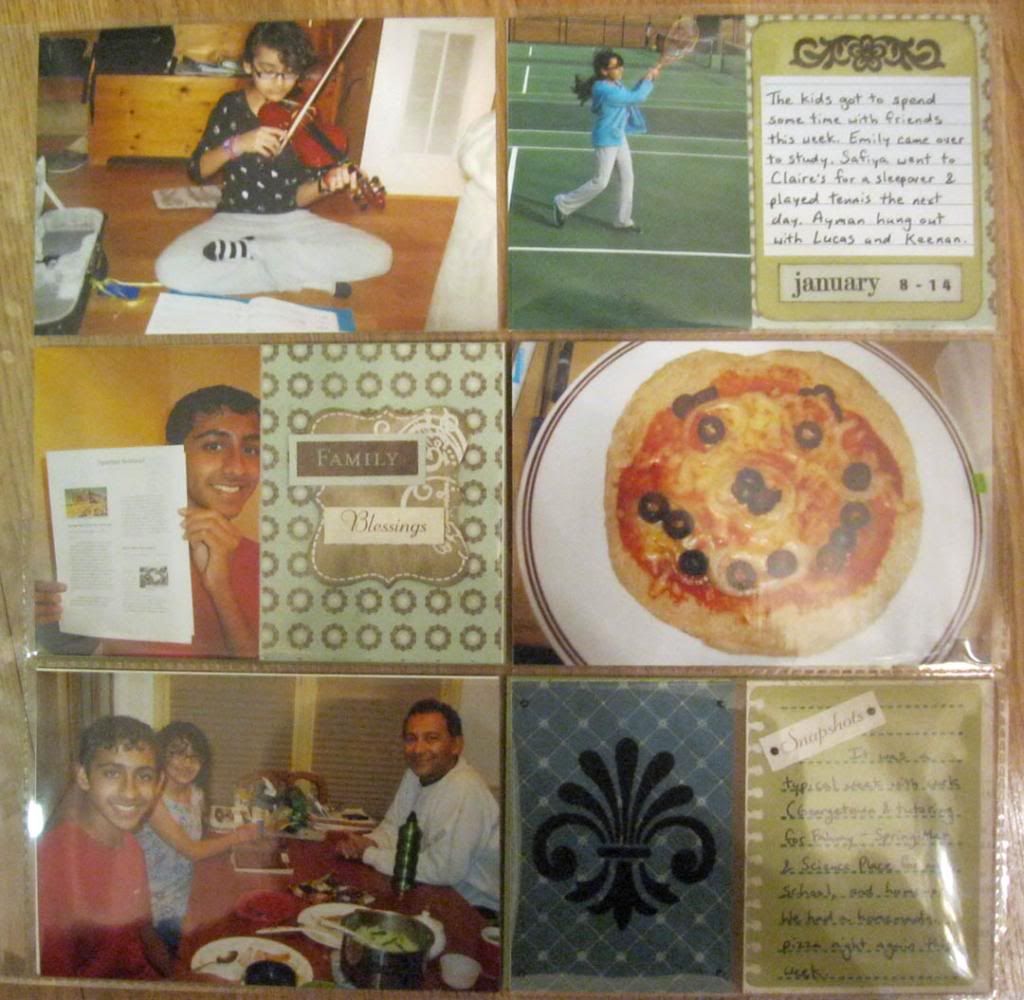
My layouts for Week 6 are below. You can see that I took screen shots of "maps" to some of the places I drove to that week. Looking back through the years, I know that what is routine now will change, so I just thought it might be nice to document where we go at this moment in our lives! These two pages focus on the kids' activities and I included part of my daughter's Girl Scout Cookie order form. You'll see that I used the journaling cards that I made with Dotty for You from this post.


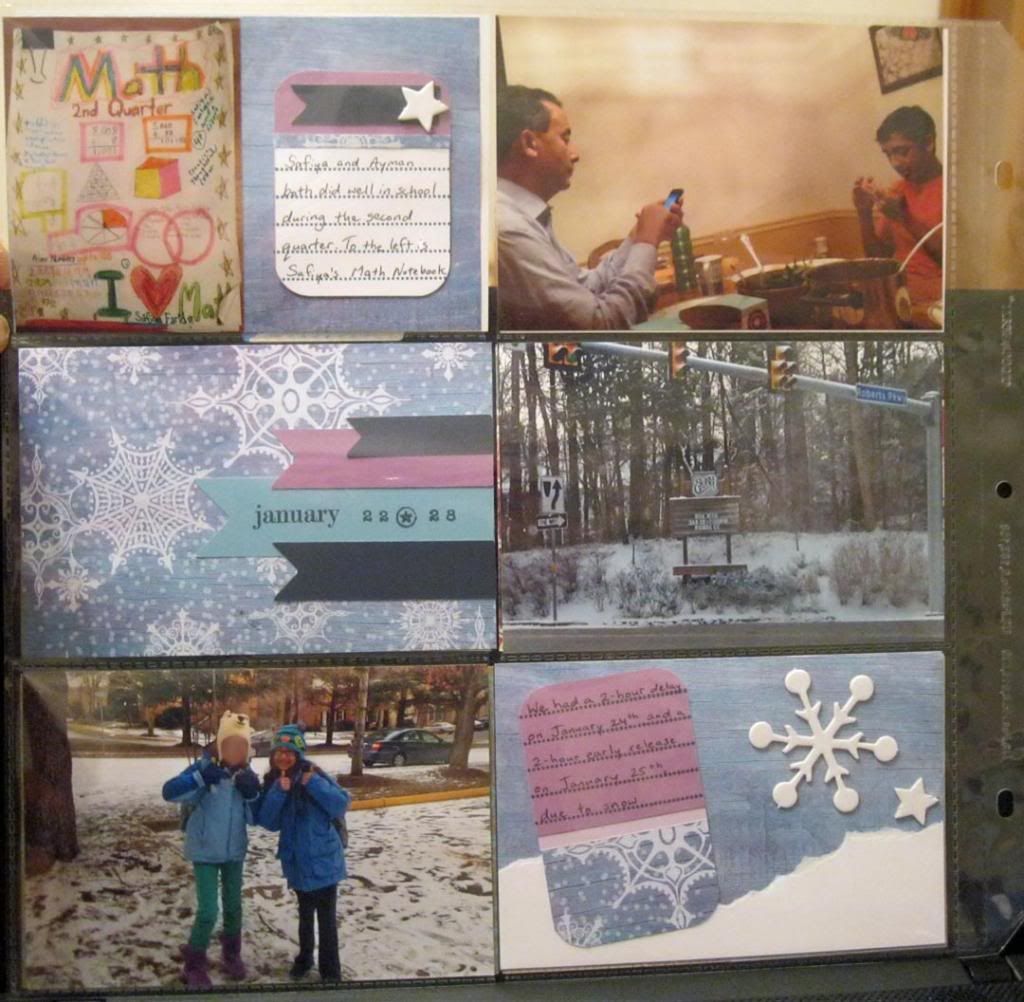
Here are the layouts from Week 7.


When I compare the layouts from these two weeks, I prefer the ones from Week 6. I think the journaling cards have a more finished look to them. I may still add something to Week 7's layouts (goodness knows I have enough embellishments in my stash to spare!) but I wanted to get these pictures in the album and if I don't add anything, that will be just fine!

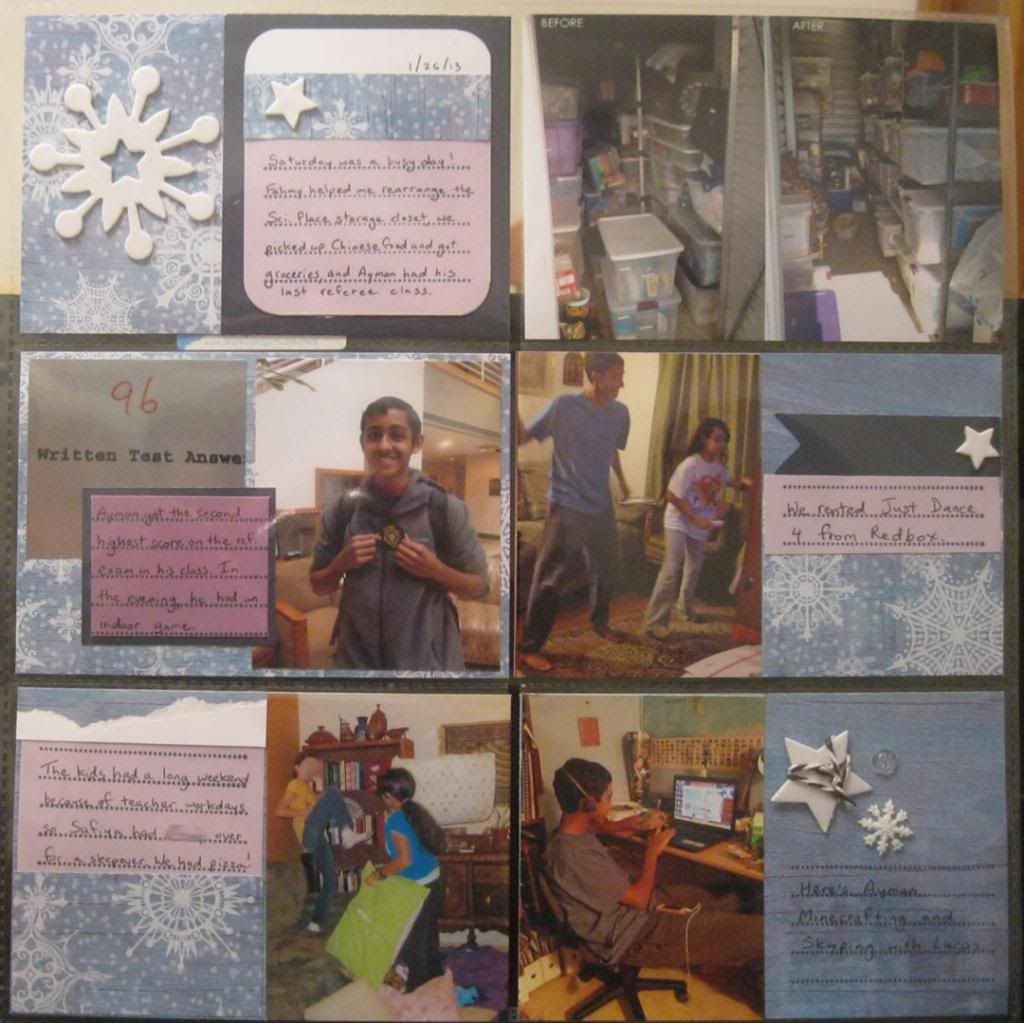
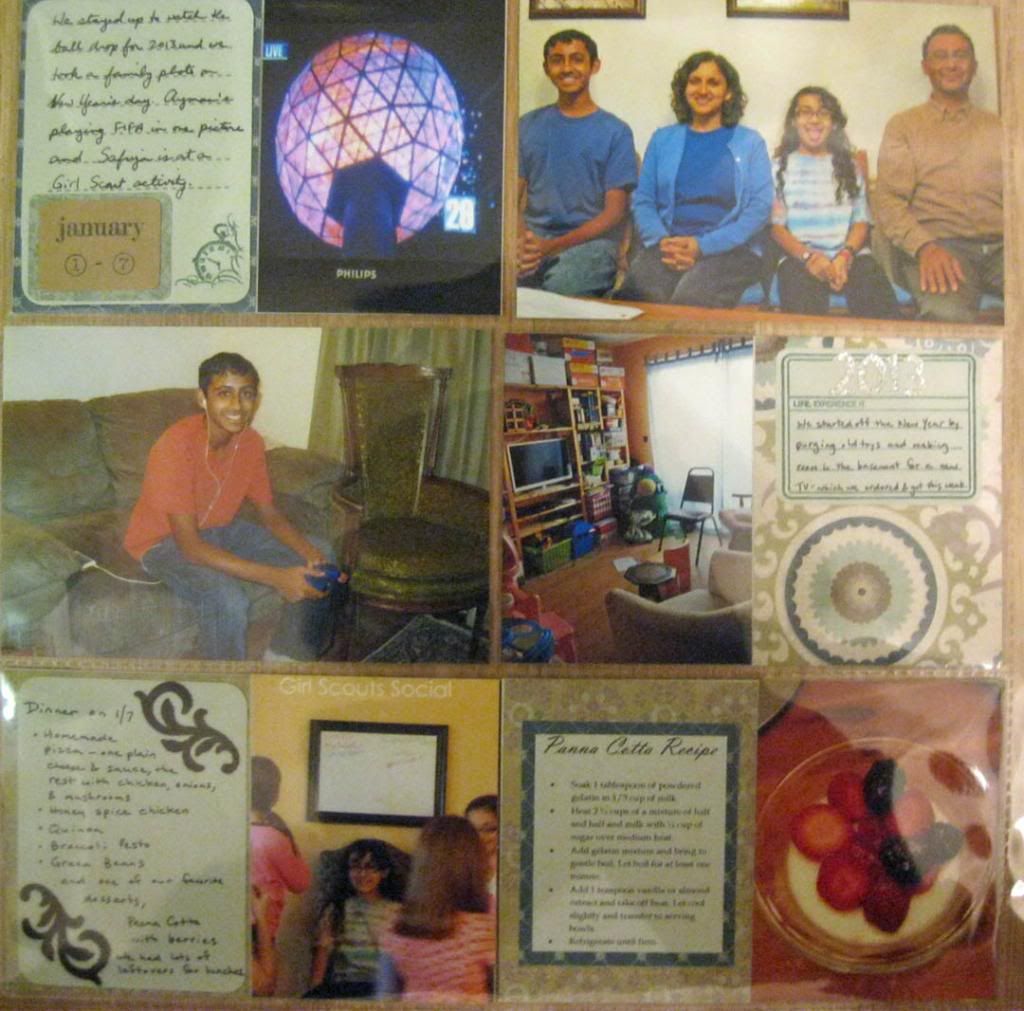
The next two layouts are from Week 8. I used an old Level 1 Paper Pack which came with some coordinating Stickease. Using the Stickease on the paper was a fun way to build up a journaling block. I also used some directly on the photos.


Are you doing Project Life? Are you finding any challenges scrapbooking this way? I'm liking scrapbooking in a different way for me...although it's a lot like the way we used to display pictures (I know my mom used very similar photo holders in some of her albums!). Pin It

Thursday, June 20, 2013

Organization Process for Project Life

So, how are you organizing your Project Life pictures? Since I am taking all digital pictures for this (and everything now!), it's really simplified my organization process. I take most of my pictures on my phone and they are automatically uploaded to my computer through Photo Stream. I've set up weekly folders under another folder titled Project Life. Here's a screen shot of what I have so far. You can tell that the past several weeks have been busy since I haven't put pictures in those folders yet!
 
 
Here's a closer view of some of those folders.
If I have some pictures that are vertical (portrait) vs. horizontal, I go into Adobe Photoshop and put two vertical photos onto one 4" x 6" canvas and upload my pictures that way to Snapfish or to wherever I want to get them printed. Here's an example of what I mean. These are two vertical photos which I have placed onto one 4" x 6" canvas in Photoshop.

So all of my vertically oriented pictures are 3" x 2" when I print them and can fit into my pocket page protectors. I'm just using CTMH's horizontal page protectors to make things easier for me (http://lubna.ctmh.com/Retail/Product.aspx?ItemID=588&CatalogID=35). I either use my paper trimmer to separate them if they are going into different pockets or keep them together if it works that way.
 
Now that school is over and the majority of my work demands have reduced, I am hoping to concentrate on scrapbooking a bit more! I probably need a schedule for myself to get going! So my goals for today, in terms of Project Life, are to get all of the photos I have taken up until now organized into their correct weekly folders. Tomorrow I will work on converting the "Verticals." I will also continue to slowly organize and clean up my scrapbooking space. That's my scrapbooking plan for this week.  Let me know yours and we can cheer each other on! 
Pin It

Sunday, May 12, 2013

Project Life CTMH Style Week 5

Here's week 5 of my Project Life CTMH style scrapbook.
Left side:
 
 Right side:
 
I just wanted to highlight a couple of elements on this page. I took a screen shot of a weather app on my phone to show the big difference in temperature from one day to the next.
 
We had a number of "keys" to our hotel room because we had ruined the magnetic strip on a couple of them by placing our phones too close to them! I loved the fun colors on the key and thought it would be a good addition to the page so I made a little pocket and put the key in. It's a neat way to add some ephemera. You could also use a small Flip-Flap.

I didn't have an in focus picture of our hotel room but I really wanted to include one on the layout so I went to the hotel website and was able to find a picture of the exact type of room we stayed in.
Pin It

Monday, March 4, 2013

Project Life CTMH Style Weeks 3 and 4

I'm really enjoying my Project Life CTMH Style project. I love making "little canvases" to slip into my 4" x 6" pockets and I love being able to scrapbook just one picture of something as opposed to thinking I need a certain number of pictures from one event or topic to create a 12" x 12" layout.
 
You may recall that I combined weeks 1 and 2 into one double layout. Weeks 3 and 4 each have their own double layouts since I had more pictures for these weeks. I love the fact that I can be somewhat flexible as to how many pictures I take per week.
 
This is the left side of week 3. You might recognize my journaling cards from this post. I modified them a bit to fit my layouts.
 
Here's the facing page of week 3.
 
This is the left side of week 4.  I used some very old paper...so happy I am finally using it!
 
And here is the right side of week 4.

Week 5 is currently spread out all over my coffee table!
Pin It

Thursday, February 7, 2013

Project Life CTMH Style Weeks 1 and 2

I thought I'd show you my first and second weeks' layouts for my 2013 Project Life, CTMH Style album. They are actually in one double page layout with the first week being on the left side and the second week being on the right side. I will stay flexible and see week by week how many pictures I have and then determine if I will have a double layout for one week or for two.
 
You might remember my pictures for my Avonlea journaling cards from this post. I changed them a bit and cut some in half to fit with my pictures and here's what I came up with.

Left Side
 
Right Side
 
Sorry for the glare but I wanted you to see how they look in the pocket page protectors. I'm using Close To My Heart's Horizontal Photo Storage Pages.


Pin It

Saturday, January 12, 2013

Journaling Cards Made With Dotty For You

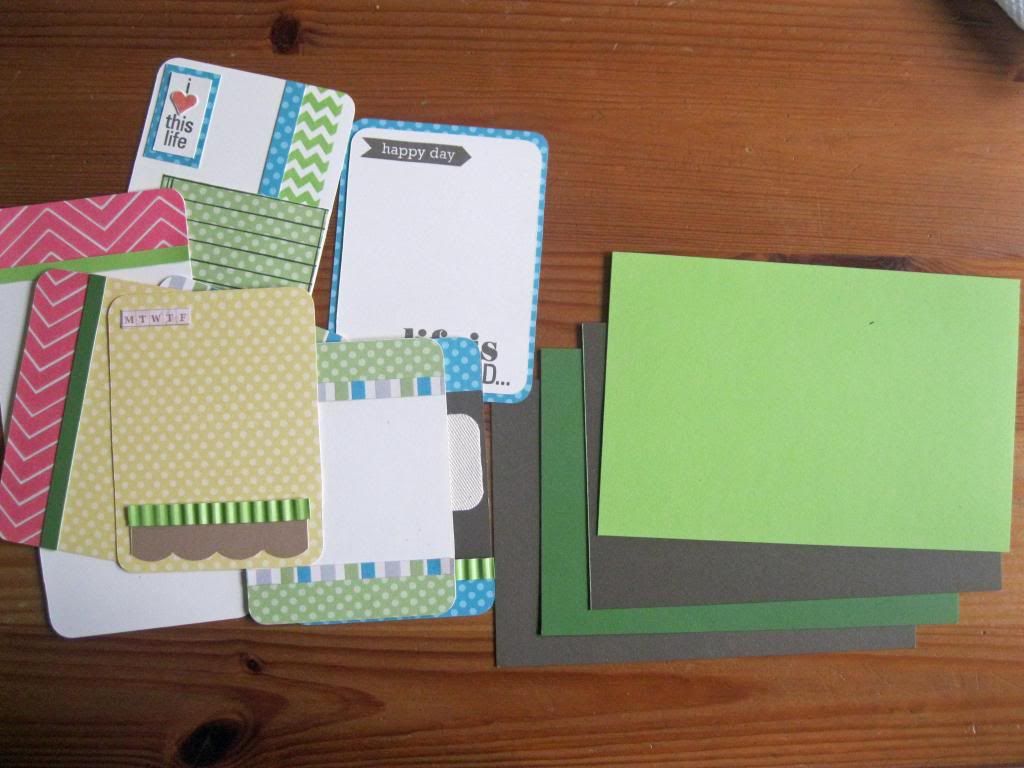
I made a bunch of journaling cards with some scraps of card stock and the Dotty For You paper which was a special a number of months ago. This time, I didn't adhere my cards to my 4" x 6" background card stock in order to leave myself some flexibility when it comes time to put my Project Life layout together.

Here they are all jumbled up with the card stock that I think I'll use as backgrounds.

 
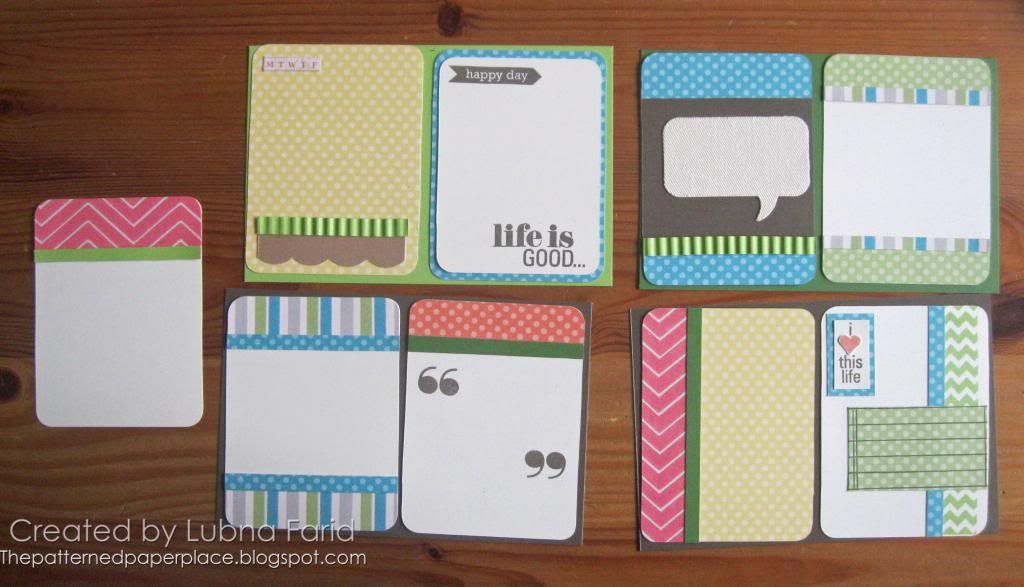
And here is a more organized look. Remember, they are not adhered to the card stock on purpose.
 
I used the It's Your Day stamp set which was a special in the summer and September. I cut out a bunch of rounded rectangle shapes using the Cricut Artiste cartridge. I also used a sticker from the Color-Ready Noted Canvas Shapes. The tiny MTWTF on the yellow polka dotted card is cut out from a sheet of paper in the Scholastic Paper Pack.
 
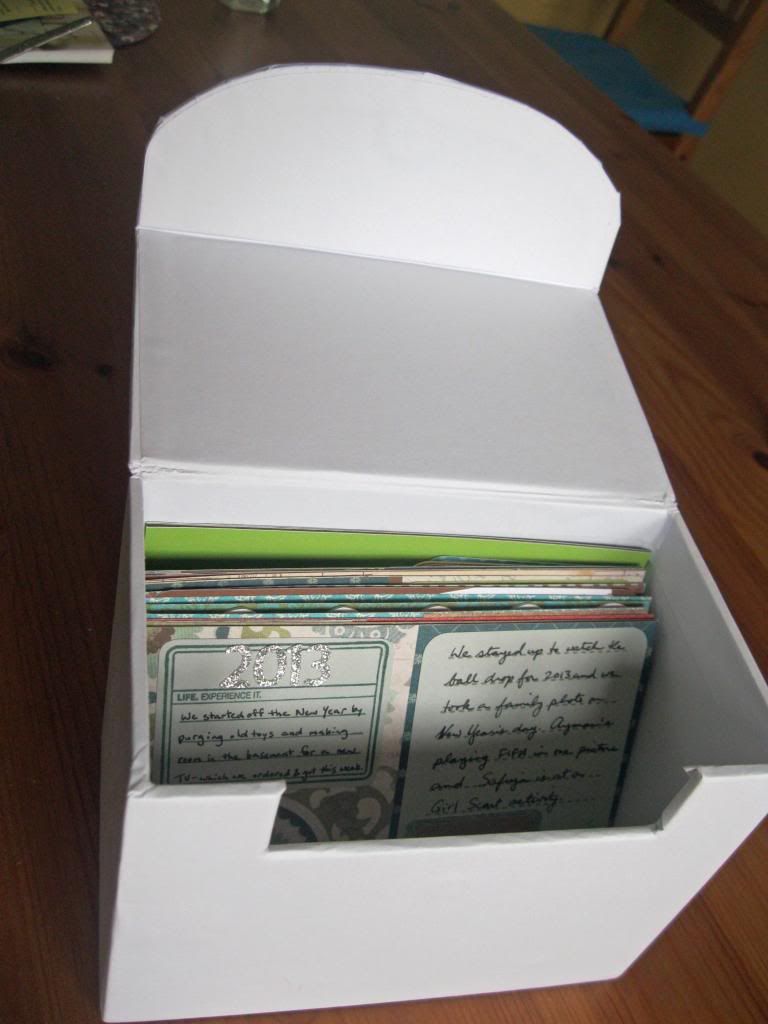
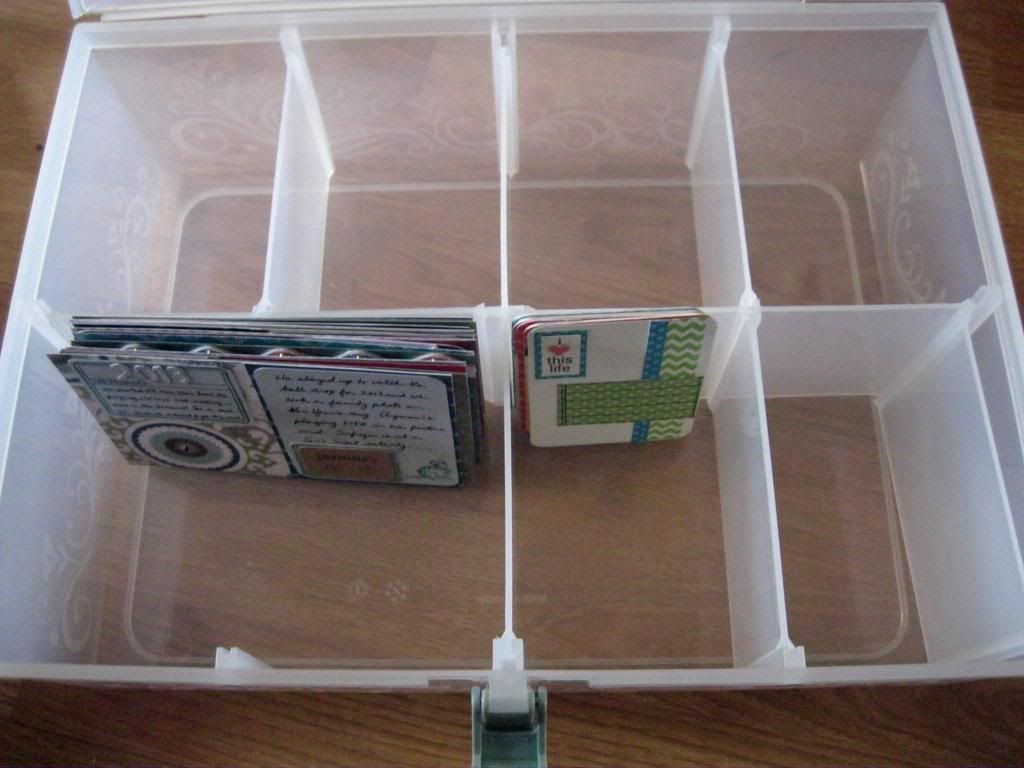
Right now I am storing my journaling cards in CTMH's My Creations Recipe/Photo Box, which I love. It keeps everything nice and compact and organized. I still need to decorate it!
 
I imagine that if I end up having a lot of cards and card stock cut out, I can shift everything to my Organizer to give myself more room.
 
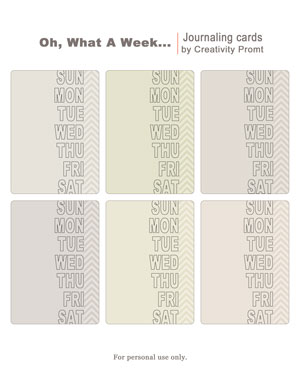
There are a ton of free printable journaling cards available online. Just doing a Google search or a Pinterest search will yield quite a few resources if you'd like to print something. Here are a few that I found (a lot of them are thanks to Sue!).

Free Journaling Labels


Another good source is the blog: http://onevelvetmorning.wordpress.com/

I've downloaded a few for fun, but I am going to try to stick with using paper and stamps to make my own journaling cards since I already have the paper and stamps and I love making them!
Pin It

Wednesday, January 9, 2013

Journaling Cards Made with Stella

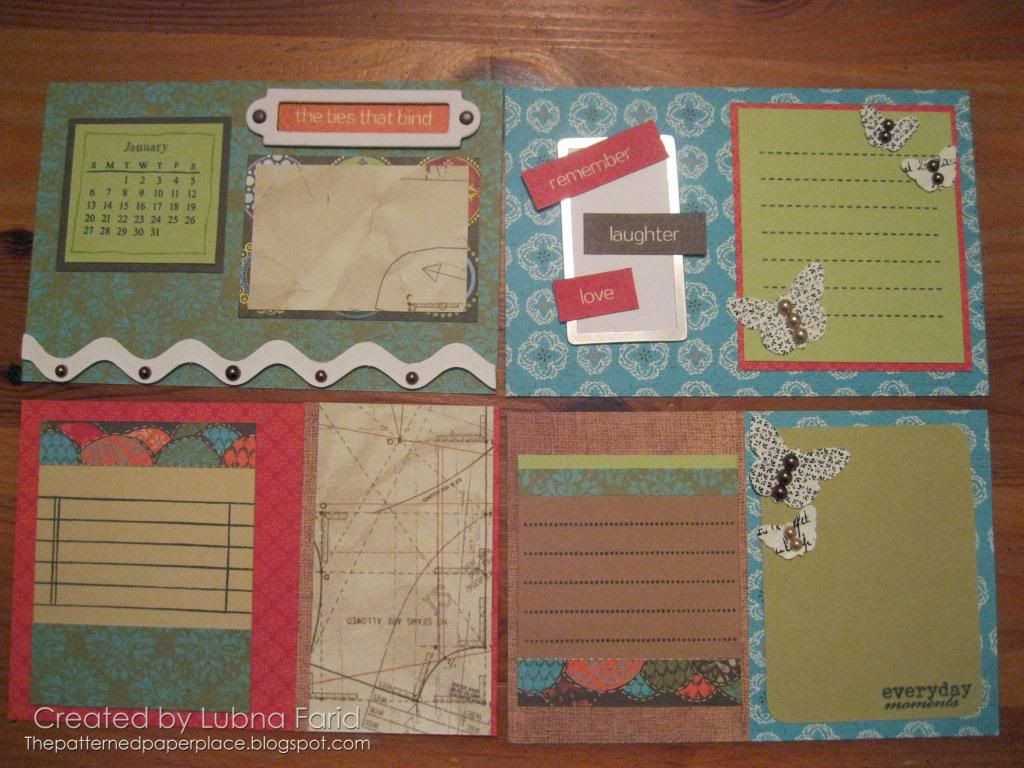
Here's a group of journaling cards I made for my Project Life album, CTMH Style with the retired Stella Paper Packet. I am very happy to say that I used a lot of things from my stash. I believe the only new items are the butterflies and opaques (pearls). I did use the Cricut to cut one of my journaling blocks. Oh and the burlap paper is actually from the Scholastic Paper Pack. I thought it went well with the Stella papers. These cards will be for sometime in January as you can see from that little calendar but I left it open as to which week. I suppose if it doesn't work for January, I can stamp another little calendar and adhere it on top of the January one!

I am working on printing pictures and writing journaling for my Week 1. I am going to limit it to one page at least for this week (not a double layout). Pin It

Friday, January 4, 2013

Journaling Cards made with Scholastic

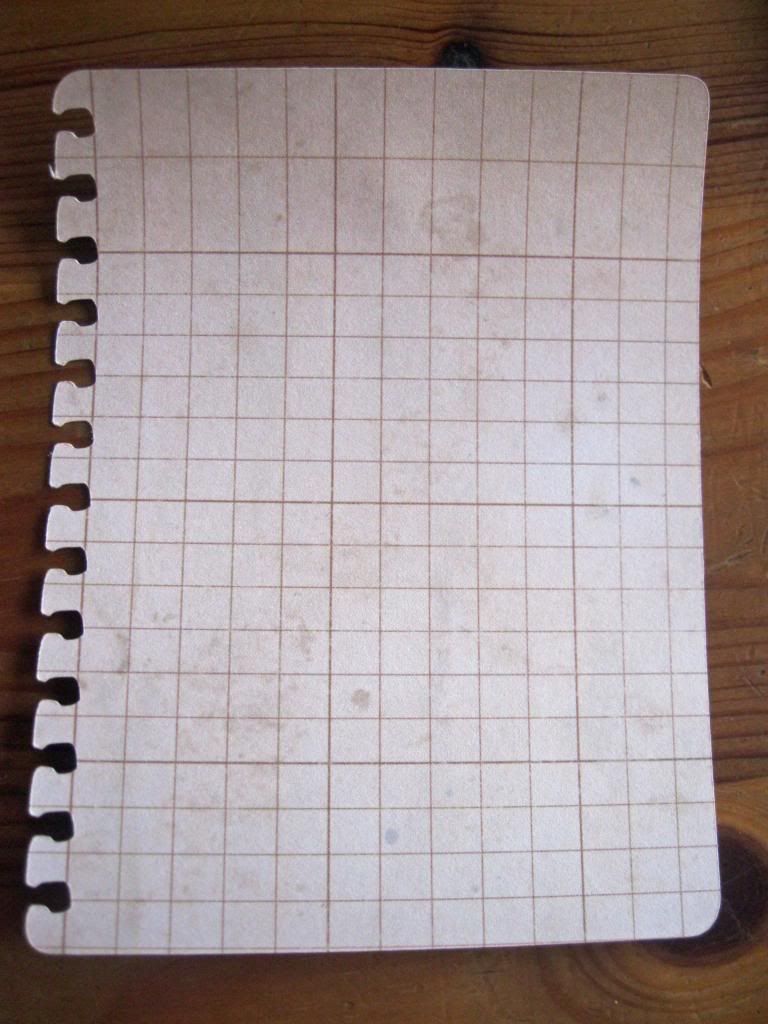
I made these 4" x 6" journaling cards with the Scholastic Paper Pack, Cricut Artiste cartridge, and Library Cards stamp set (retired). I love the notebook paper cut on the Artiste cartridge.

 
I didn't add dates to these cards because I want to leave it flexible as to when I use them. I do know that at some point this year, I want to document how much my daughter has been reading these days and which books are her favorites. She'll probably use the "library card" below to write them on which is why I stamped "My Favorites," on it.

I printed out this quote on the card below. I might put a photo next to the quote.

I love the graph paper from the Scholastic pack!
 
I don't have these yet but the Memo Assortment which coordinates with the Scholastic Paper Pack would make really cute journaling spots.

 Are you doing Project Life this year? I'd love to hear about your plan! Another wonderful CTMH consultant recommended Ohlife.com as a tool to help with your journaling. After signing up, you will get an email everyday asking you to reply and write whatever you want to about that day. It's been a great reminder for me!

If you are looking for my posts on Project Life, CTMH style, look to the right for the LABELS feature and click on Project Life, CTMH style, or check out my December 31, 2012 post.
Pin It

Tuesday, January 1, 2013

Avonlea Journaling Cards

As promised, I'm going to show you some of the jouraling cards I made for my Project Life, CTMH Style scrapbook. I used the Avonlea Paper Pack, the Cricut Artiste cartridge, Mocha Opaques, and the Dark Chocolate Tapestry Rub-ons (I'm so sad these will be retiring!) to make these 4" x 6" cards.


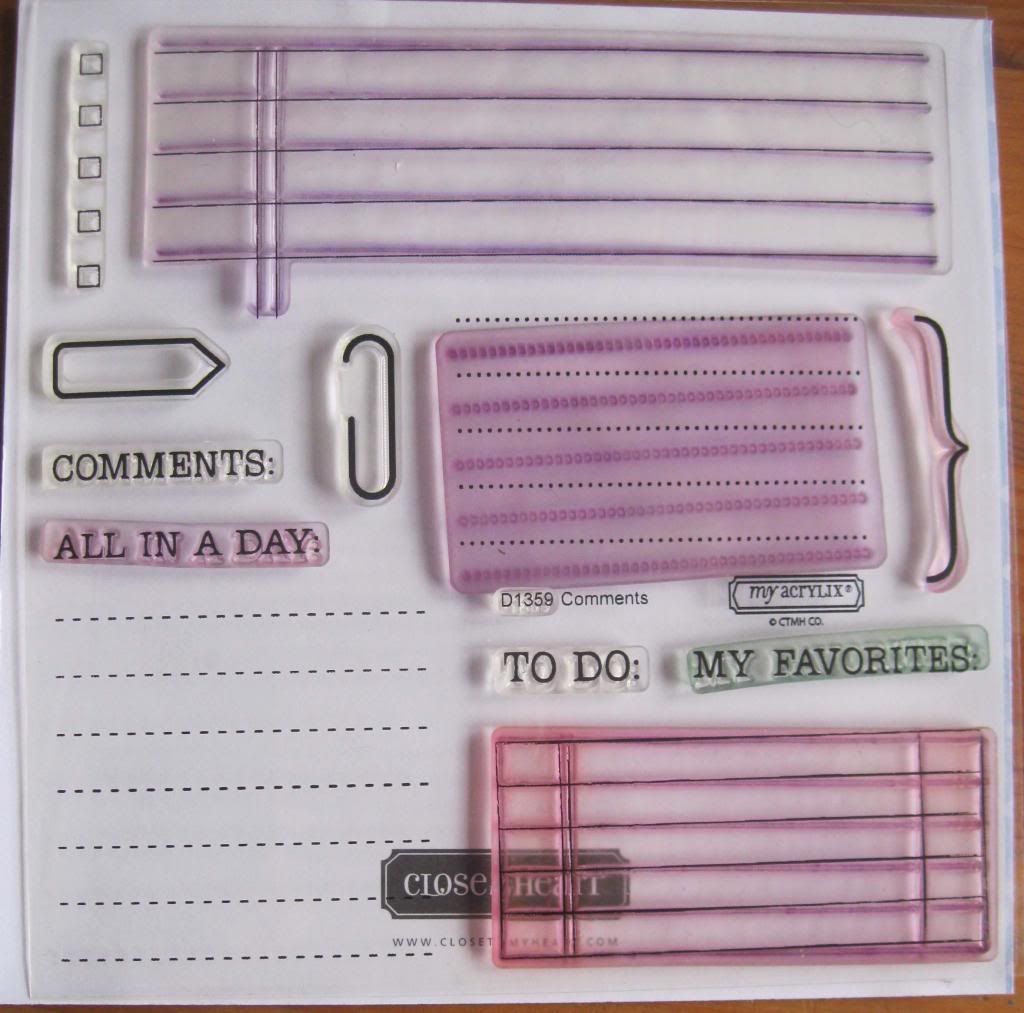
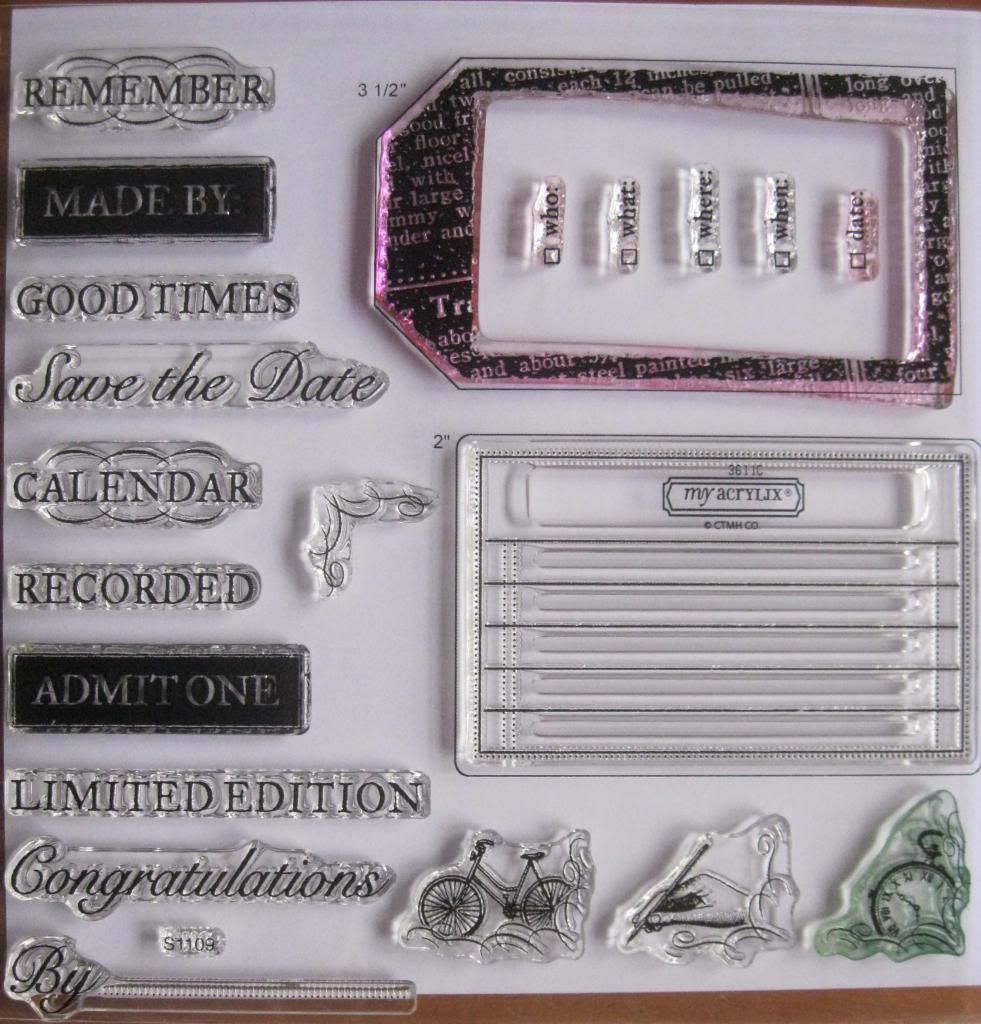
I stamped the dashed lines in the first and fourth cards with my retired Comments stamp set and I used my retired Limited Edition set, along with the November Stamp of the Month, Capture the Date for some of the other stamping. I also added a random Irresistibles chipboard die cut I had from a past special (2nd card--it's inked up with Chocolate) which got me thinking that the Irresistibles Persnickety Journaling Spots would be a fun thing to add to some other journaling cards. Here's a picture of them.
Pin It

Monday, December 31, 2012

Project Life, CTMH Style


I finally feel like I've got a handle on my scrapbooks and I more or less have a system down which has brought some order into what used to feel like overwhelming chaos! Not kidding! At many points, scrapbooking has felt like something I would never be able to "catch up" with. I know, I know...that's phrase is taboo! So it went from being a wonderful creative outlet to being an anxiety producing endeavor. What!?! That's not why I started scrapping. Studio J really helped me get to a place where I feel "caught up" and I only wish I had started with digital pictures earlier on so I could scrap my older pictures digitally as well! However, now I do feel like I have some wiggle room and can experiment with my scrapbooks again. Sooo, I thought it might be fun to scrap my 2013 family pictures using the Project Life concept but with Close To My Heart products (since I have so many of them!). I'm so excited to do this! 

If you're not familiar with Project Life, you can do an online search to read about Becky Higgins wonderful concept, but I will try to give a little description here. The concept is first of all to make a conscious decision about how you want to memory keep. Some people do a picture a day for the whole year. Some do a double layout or half a layout (one page) per week. Some do a double layout per month. Or you can mix and match. You can use pocket pages in which you have your journaling and your pictures. So you could slip a 4" x 6" photo into a 4" x 6" slot in a Photo Storage Page and then slip your journaling into another slot. You can make it as fancy or as simple as you like. You can add in other sized page protectors (or Flip Flaps in my case) too. Since you can use all these little pockets and page protectors, you have the flexibility to focus more on the everyday moments vs. the bigger events (but you can do both of course). Basically, you are not just tied down to a 12" x 12" scrapbooking page but you can certainly add that in whenever you like! 

Part of me is kicking myself in the head because that's how I/we used to do photo albums. Stick some photos into a photo album (albeit the sticky, magnetic ones) and maybe add the date or a caption about what it's about, right? But often times there was no journaling, maybe not even a date. The beauty and simplicity of Becky's design is that she came up with these beautiful kits that have preprinted journaling cards so you have a place all set for you to jot down something about your pictures.  

Now, I've also used photo pockets in the past, but I never had the jounaling cards all set and ready to go. I never had it planned out, so I stopped. Lightulb! Why not make my own journaling cards ahead of time to have them ready to go when I need them? Just like Project Life! Now this got me excited because the reason I started scrapbooking in the first place was that I love making art and being creative. With this I concept, I feel like I won't get overwhelmed at trying to make something gorgeous everytime. I can simply stamp lines (or print them on the computer) on a journaling block if I want or I can make it fancy if I want. Since the scale is small, it'll be done more quickly and I can even use up some of my ever growing collection of scraps but I can still be creative!

I happen to have a LOT of stamps that will work well for making journaling blocks already. Many of them are retired but I figured that I would still post about some of them in case you have them too.

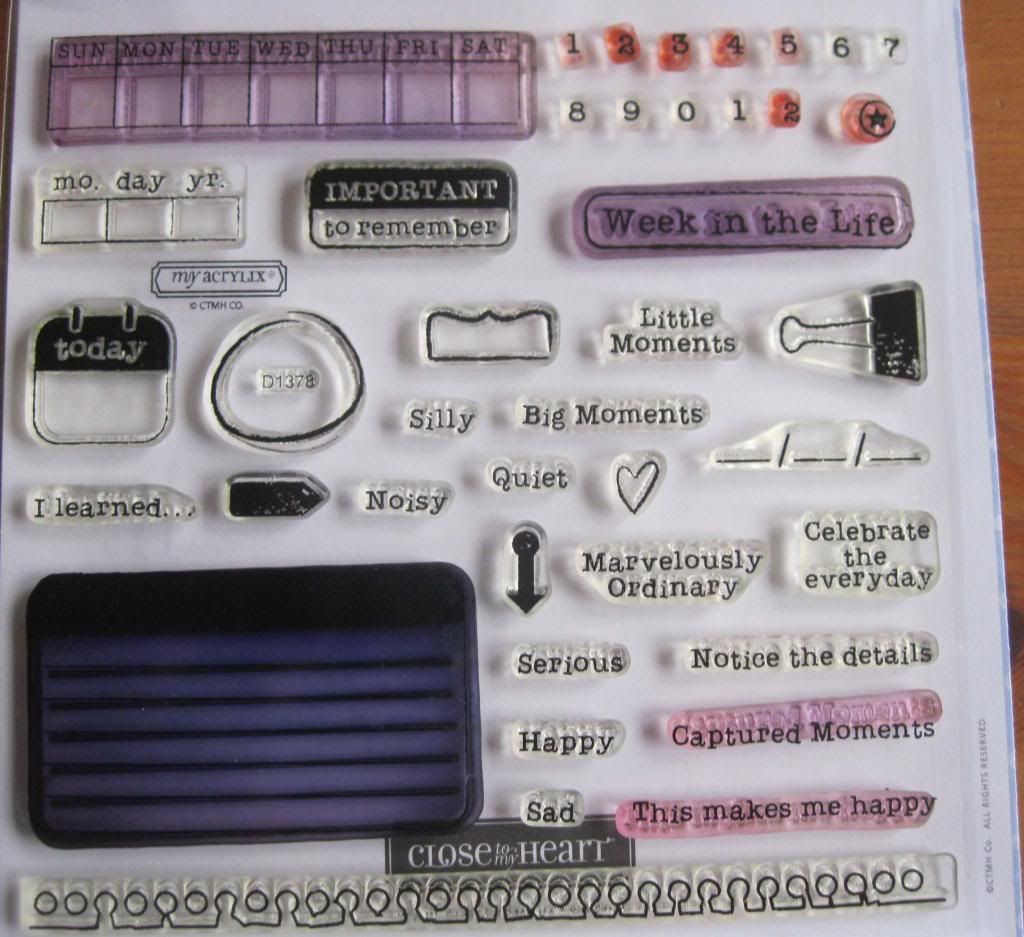
This one is called Notice The Details (retired) and I used in for my Week in the Life album quite awhile ago.
 
This is called Comments (retired) and it's perfect for adding lines to journaling blocks that you cut yourself or with the Cricut.
 
Here's an example of a small journaling block I cut with the Artiste cartridge and then stamped with the dashed lines from this set. I set my size for 3 3/4" and pressed Shift, Accent 1, and the U key. That key has a lot of wonderful stationery looking type of cuts. It also has the plain rounded corner rectangles which also make great journaling blocks.
 
 This was the September Stamp of the Month in 2011, Limited Edition (retired).
 
This was the Summer Special from this past August and September. It's called It's Your Day.
Here's a link to a You Tube video by Kathy Norman and how she used the stamp set to make a journaling block: http://www.youtube.com/watch?v=oDAW9TY2buk.
 
 
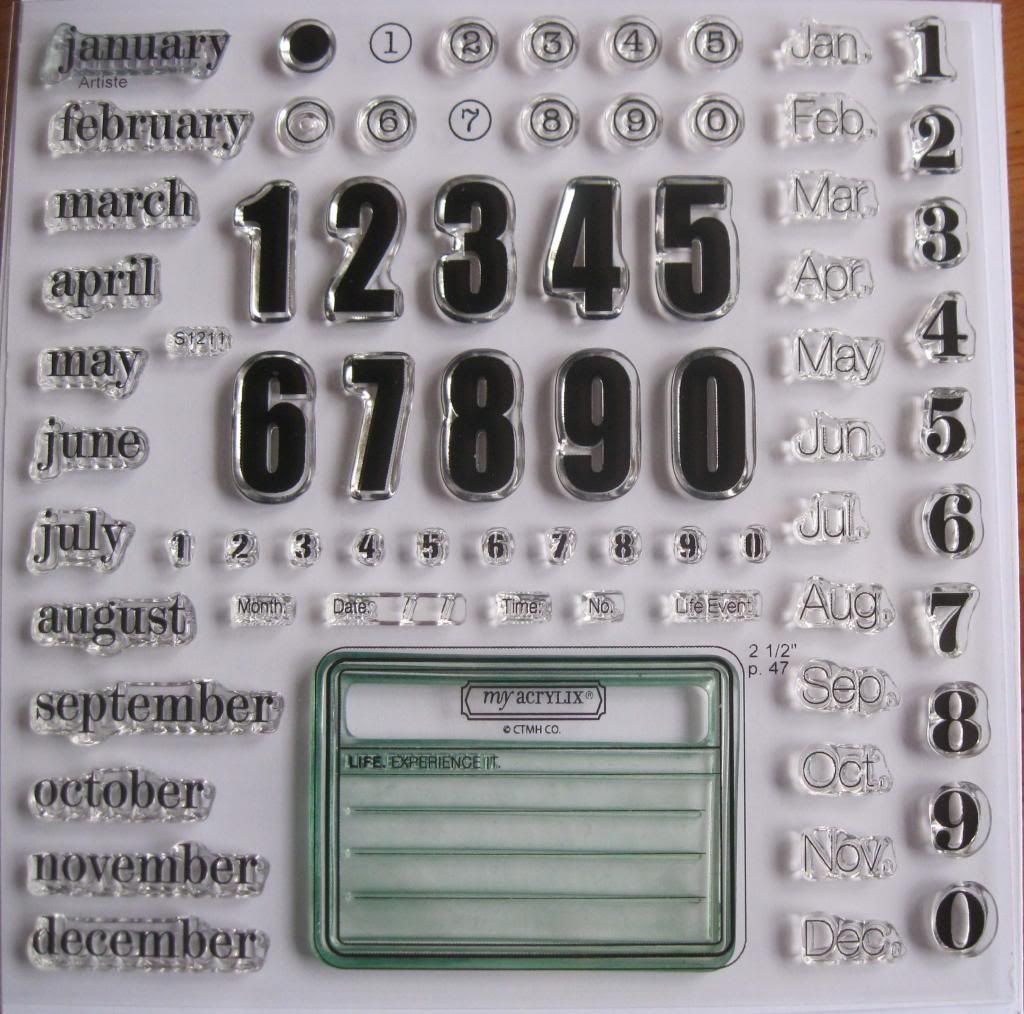
This was the Stamp of the Month this past November and it's called, Capture the Date.
 
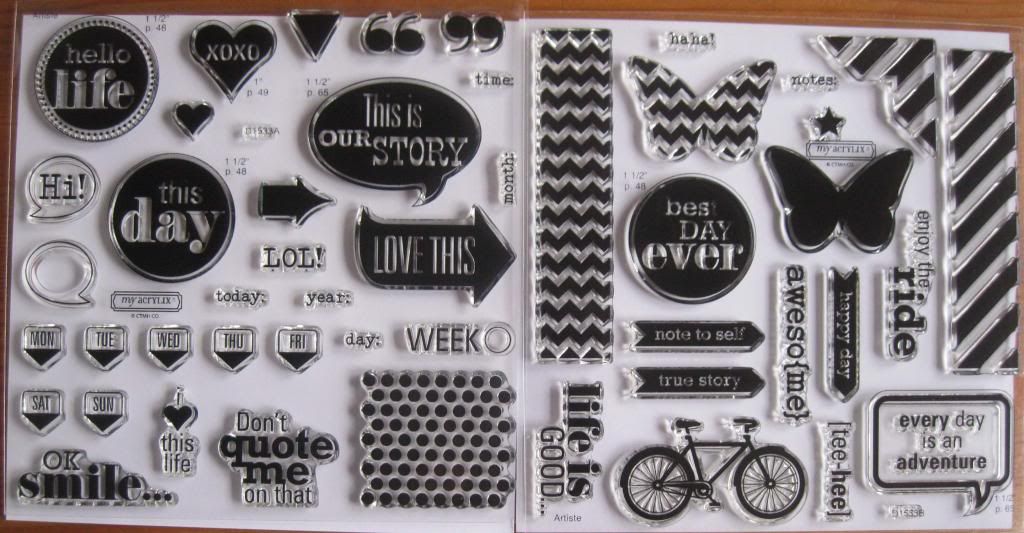
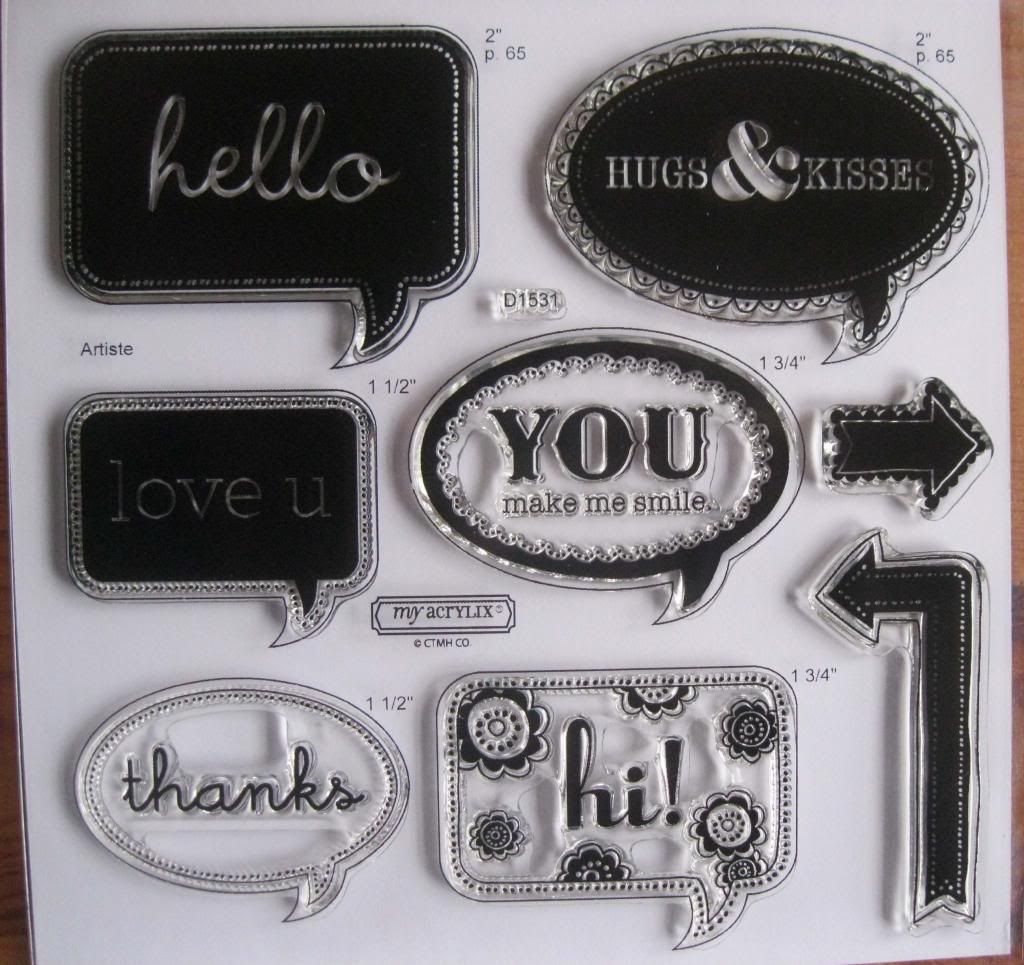
And now we come to something that's still available! Many of you probably have this one. It comes with the Cricut Artiste cartridge and is called Word Balloons. This would be great for filler blocks when you might not have or want journaling but want a little something to put into the space.
  
I don't have this one but it is a current stamp set called Approved.
 
The Scholastic papers have a lot of grid patterns, notebook/ledger paper patterns, and library pocket patterns which would work well if they were cut down to a journaling block size or as a background mat for plain cardstock. With some of the grid and ledger patterns, there would be no extra stamping needed. It's hard to see details but here's a picture of the paper pack.
 
Here's that same cut I did on the Cricut but with one of the Scholastic papers.
 
I also like the Avonlea papers because of the colors (yes, I'm a blue and green girl) and some of the family oriented sayings on the "zip strip."
 
Stay tuned! In my next post I'll show you some of the journaling cards I made.
Pin It
Related Posts Plugin for WordPress, Blogger...