At preschool, we have different themes of the week. Recently, we had the theme of post office and mail. The kids had a blast making and receiving letters in their mail boxes. Some of them were so excited about getting mail, that they sat right in front of their mailboxes while their friends delivered their Valentine! I could certainly relate to that feeling. Haven't you ever waited by the mailbox? It got me thinking about how much fun it is to receive real handwritten letters and cards. I know that email and texting are so much faster, but don't you miss getting actual letters in the mail? I sure do! With that in mind, I made a bunch of these note cards so I can write short letters to friends when I get a chance. I sent one out to a friend from high school the other day (wow, I've known her for 25 years!). I hope she smiled when she saw it wasn't a bill!
This is another card that was inspired by a sketch from the Clean and Simple stamping blog but I changed it so much I'm not sure I should call it a variation! I like the idea of using strips of paper to create a background piece. It's a good way to use up any coordinating scraps of paper you might have leftover from other projects.
Supplies used: (C1349) Ambiance stamp set, (D1222) Tiny Typewriter Alphabet stamp set, (X7133B) Miracle Level 2 paper pack, (X5642) Cocoa cardstock, (Z2114) Cocoa stamp pad, (Z2353) Sweet Leaf marker, nestabilitiesPin It
Showing posts with label Tiny Typewriter Alphabet. Show all posts
Saturday, February 26, 2011
Monday, March 15, 2010
A Week in the Life - How it Looks in the Album
This was a fun little project and it's nice that it was relatively quick. Even though the rings in the binder album are small, I think it would still fit some more pages so I'm hoping I can do this again in the future and just add the pages here. It'd be a nice way to compare how our routines change as we do.
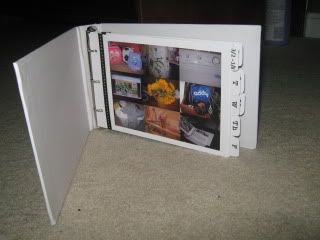
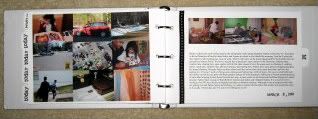
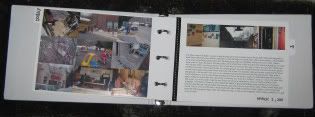
Here's a glimpse of how it looks in the album.
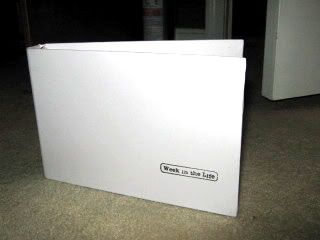
I stamped, "Week in the Life" from the Notice the Details stamp set, directly onto the album's cover. I just wanted to keep it simple so I didn't add any other embellishments to the cover.
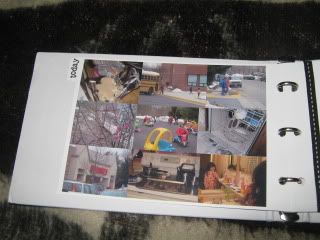
The front page just has random shots from around the house (lunch boxes, the fridge, computer screen, toothbrushes, etc.)
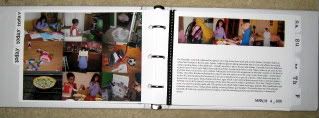
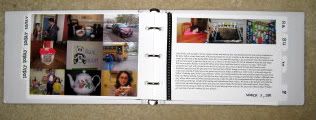
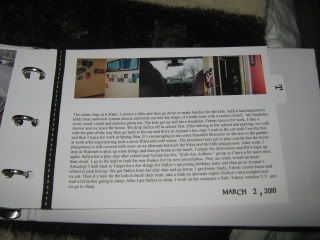
Here are some of the layouts from inside the album. Sorry the pictures are small. When I enlarge them, they get somewhat blurry so I've kept them this size.
Supplies used: (Z1141) My Creations 3-Ring Binder, (D1378) December 2009 Stamp of the Month - Notice the Details, (D1286) Today's Date stamp set, (D1222) Tiny Typewriter Alphabet stamp set, (retired) Calendar stamp set, (1385) White Daisy cardstock, (Z2105) Black stamp pad, (Z1034) Ribbon Rounds Black Collection
Pin It
Friday, March 12, 2010
A Week in the Life - Layout
I think it definitely would have helped me to have known how I wanted to lay out my, "A Week in the Life" album in advance. It would have helped me have a better idea of how many pictures and which types of pictures I should take (I know that getting sick played a big role in the amount of pictures on certain days). Although it felt like I was taking a lot of pictures, when I do this again, I will try to take more. I will also try to journal each day instead of all at the end of the week, which is what I did this time. But I do think it all worked out pretty well.
After playing around with the pictures and paper, I decided on a pretty simple layout which I hope to follow for each day. I'm using a CTMH My Creations 3-ring Binder as my album. I typed up my journaling on the computer and printed it out on White Daisy cardstock which I then cut to the same shape as the tabbed paper which comes with the binder. I'm putting my photo collage of nine pictures on the left side of each open layout and stamping the word, "today," on the tab on that page. My photo collage is slightly smaller than 5" x 7" so that there can be a bit of a border around the photos on that page. My journaling goes on the right side of the two page layout with a strip of three additional photos above it. The photos are small, approximately 1.5" x 2" each in the strip above the journaling. I will stamp a letter to indicate which day of the week it is on the tab on this page. Underneath the journaling, I will stamp the date. Then along the left side of this page, I will adhere a black ribbon with white stitching. I like the idea of using the binder because I can easily just add to the album when I repeat this project in the future and have the pages all in one place. I think it'll be interesting to compare and see how things/routines change.
Supplies used: (Z1141) My Creations 3-Ring Binder, (1385) White Daisy cardstock, (Z2105) Black stamp pad, (D1222) Tiny Typewriter Alphabet stamp set, (D1286) Today's Date stamp set, (Z1034) Ribbon Rounds Black Collection, (retired) Calendar stamp setPin It
After playing around with the pictures and paper, I decided on a pretty simple layout which I hope to follow for each day. I'm using a CTMH My Creations 3-ring Binder as my album. I typed up my journaling on the computer and printed it out on White Daisy cardstock which I then cut to the same shape as the tabbed paper which comes with the binder. I'm putting my photo collage of nine pictures on the left side of each open layout and stamping the word, "today," on the tab on that page. My photo collage is slightly smaller than 5" x 7" so that there can be a bit of a border around the photos on that page. My journaling goes on the right side of the two page layout with a strip of three additional photos above it. The photos are small, approximately 1.5" x 2" each in the strip above the journaling. I will stamp a letter to indicate which day of the week it is on the tab on this page. Underneath the journaling, I will stamp the date. Then along the left side of this page, I will adhere a black ribbon with white stitching. I like the idea of using the binder because I can easily just add to the album when I repeat this project in the future and have the pages all in one place. I think it'll be interesting to compare and see how things/routines change.
Here's the left side of the two page layout:
Here's the right side of the two page layout:
And here they are together:
Monday, February 15, 2010
Tag Album Journal - Part 3
It's been a busy week with the kids home from school. I haven't had a chance to post in a week, sorry! We got some new inflatable sleds and have enjoyed a lot of sledding even over the refrozen, icy and bumpy parts of the hills. My husband and I celebrated our thirteenth wedding anniversary yesterday also! My son did receive homework through the internet though so it hasn't been all fun and games. And guess what? We have another snow day today!
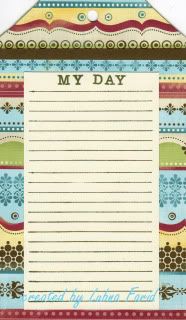
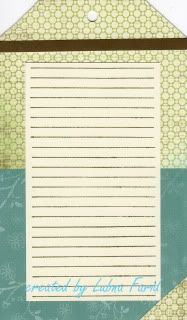
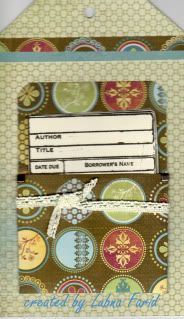
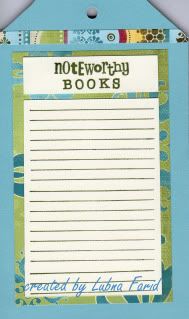
Here are the last of the pages in the tag album journal that I've been working on.
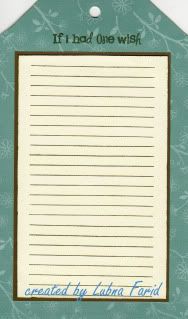
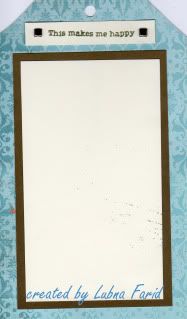
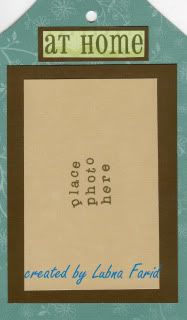
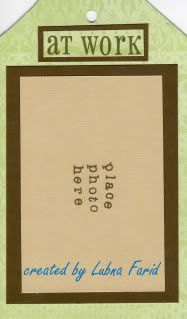
I tried to keep the labels on the pages somewhat open ended so that the recipient could decide how to use the journal. For example, my original thought was that this page could be used to show a typical daily schedule and I was going to stamp times such as 7 am, 8am, etc., but then I thought that someone may prefer to write about their day in a different way (morning, afternoon, evening, or even just about a particular or special day).
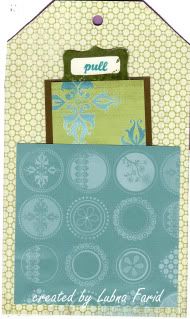
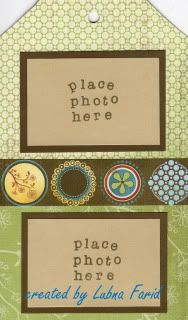
The front of this page has a little pocket with library cards (stamped on each side) which can be remove and written on. Again, I was thinking that this could be written in many ways. It could be about the books read in the current year or it could be about all time favorite books.
The lower photo shows another little pocket with an insert that the recipient can write on or attach little photos to or the recipient could replace the insert and put some other little memorabilia in there such as a tag, ticket, receipt, etc.
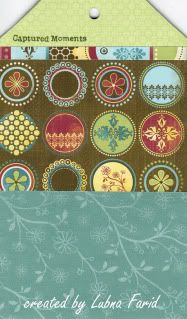
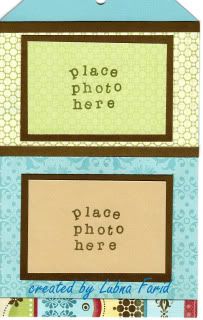
This is the front and back of the last page for either journaling or photos.
Supplies Used: (X7105B) Emporium Level 2 paper pack, (D1347) Confidential stamp set, (D1329) Noteworthy stamp set, (D1378) Notice the Details stamp set, (D1222) Tiny Typewriter Alphabet stamp set, (Z2114) Cocoa stamp pad, (Z2160) Twilight stamp pad, (Z1126) Colonial White Ribbon Rounds
Pin It
Monday, January 25, 2010
Tag Album Journal - Part 2
Here's a continuation of the tag album I'm working on.
Pin It
Fourth page, front and back
Fifth page, front and back
Sixth page, front and back
Supplies used: (X7105B) Emporium Level 2 paper pack, (Z2114) Cocoa stamp pad, (D1331) Dream Wishes stamp set, (D1222) Tiny Typewriter Alphabet stamp set, (C1401) Friendship Alphabet Small stamp set, (1301) Bamboo cardstock, Nestabilities
Hmmm...so do you think I can complete three of these types of albums (including this one, another which I've started and another which I have not even touched yet) by February 13th? Yikes! I'm hoping that once this one is all done, I'll start moving more quickly since I'll have my template. Wish me luck!
Subscribe to:
Posts (Atom)