I finally feel like I've got a handle on my scrapbooks and I more or less have a system down which has brought some order into what used to feel like overwhelming chaos! Not kidding! At many points, scrapbooking has felt like something I would never be able to "catch up" with. I know, I know...that's phrase is taboo! So it went from being a wonderful creative outlet to being an anxiety producing endeavor. What!?! That's not why I started scrapping.
Studio J really helped me get to a place where I feel "caught up" and I only wish I had started with digital pictures earlier on so I could scrap my older pictures digitally as well! However, now I do feel like I have some wiggle room and can experiment with my scrapbooks again. Sooo, I thought it might be fun to scrap my 2013 family pictures using the Project Life concept but with Close To My Heart products (since I have so many of them!). I'm so excited to do this!
If you're not familiar with Project Life, you can do an online search to read about Becky Higgins wonderful concept, but I will try to give a little description here. The concept is first of all to make a conscious decision about how you want to memory keep. Some people do a picture a day for the whole year. Some do a double layout or half a layout (one page) per week. Some do a double layout per month. Or you can mix and match. You can use pocket pages in which you have your journaling and your pictures. So you could slip a 4" x 6" photo into a 4" x 6" slot in a
Photo Storage Page and then slip your journaling into another slot. You can make it as fancy or as simple as you like. You can add in other sized page protectors (or
Flip Flaps in my case) too. Since you can use all these little pockets and page protectors, you have the flexibility to focus more on the everyday moments vs. the bigger events (but you can do both of course). Basically, you are not just tied down to a 12" x 12" scrapbooking page but you can certainly add that in whenever you like!
Part of me is kicking myself in the head because that's how I/we used to do photo albums. Stick some photos into a photo album (albeit the sticky, magnetic ones) and maybe add the date or a caption about what it's about, right? But often times there was no journaling, maybe not even a date. The beauty and simplicity of Becky's design is that she came up with these beautiful kits that have preprinted journaling cards so you have a place all set for you to jot down something about your pictures.
Now, I've also used photo pockets in the past, but I never had the jounaling cards all set and ready to go. I never had it planned out, so I stopped. Lightulb! Why not make my own journaling cards ahead of time to have them ready to go when I need them? Just like Project Life! Now this got me excited because the reason I started scrapbooking in the first place was that I love making art and being creative. With this I concept, I feel like I won't get overwhelmed at trying to make something gorgeous everytime. I can simply stamp lines (or print them on the computer) on a journaling block if I want or I can make it fancy if I want. Since the scale is small, it'll be done more quickly and I can even use up some of my ever growing collection of scraps but I can still be creative!
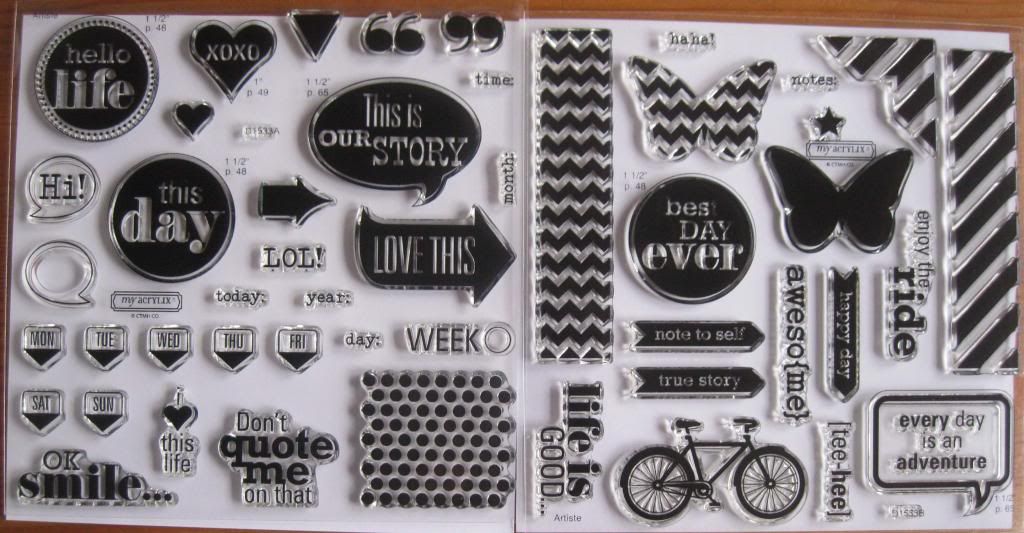
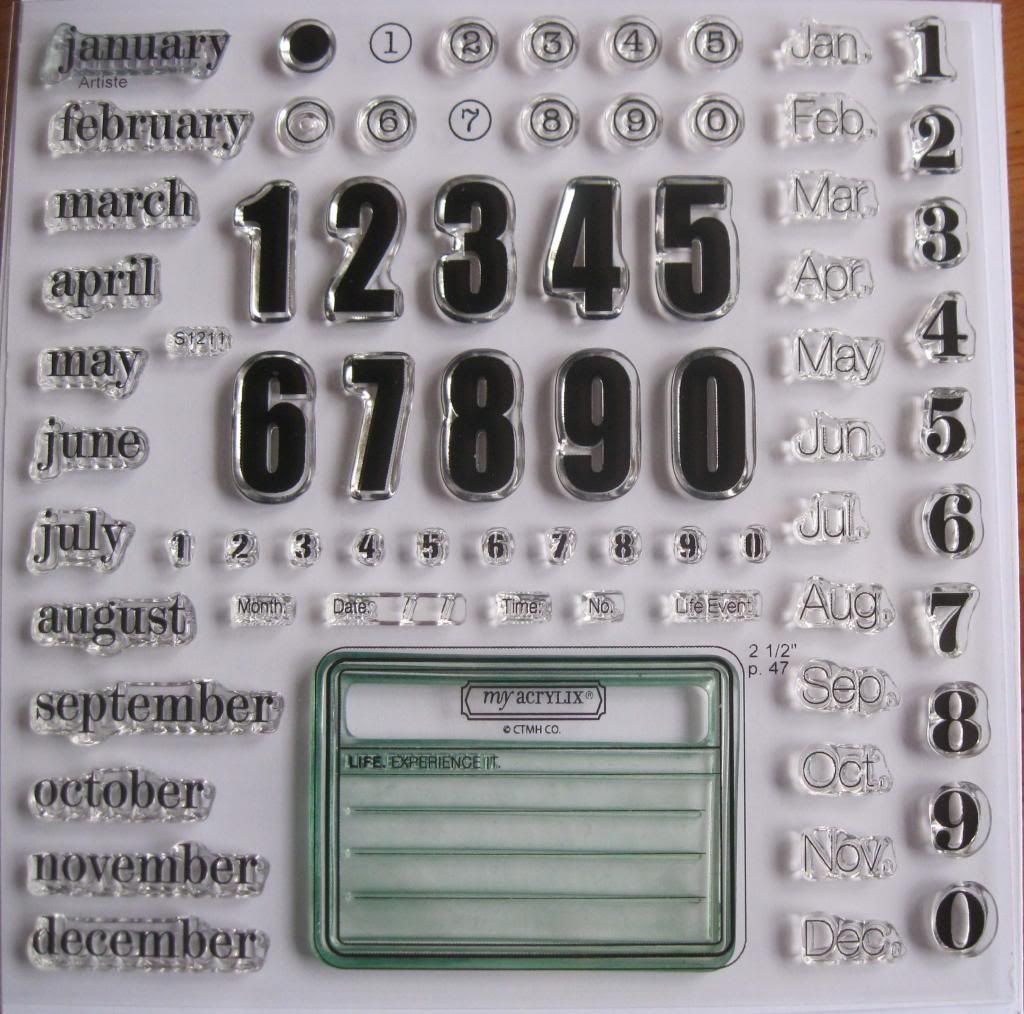
I happen to have a LOT of stamps that will work well for making journaling blocks already. Many of them are retired but I figured that I would still post about some of them in case you have them too.
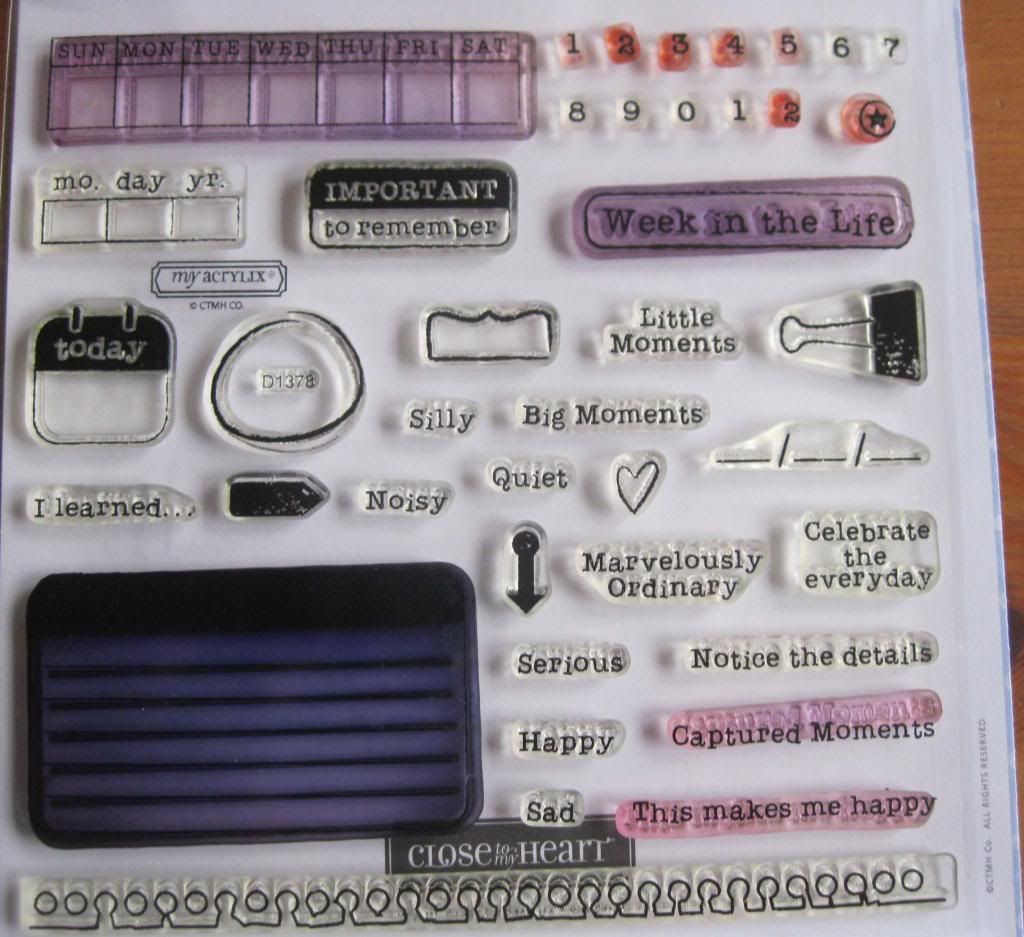
This one is called Notice The Details (retired) and I used in for my
Week in the Life album quite awhile ago.
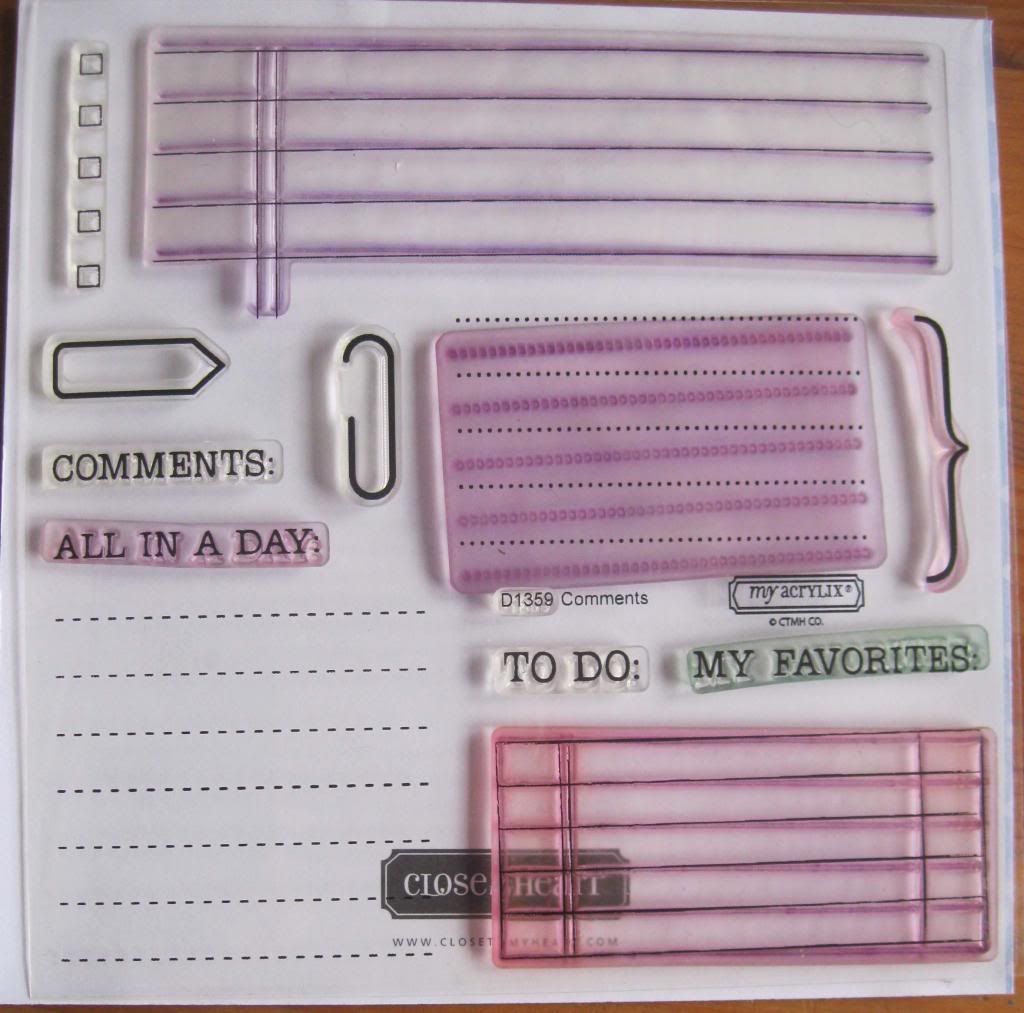
This is called Comments (retired) and it's perfect for adding lines to journaling blocks that you cut yourself or with the Cricut.
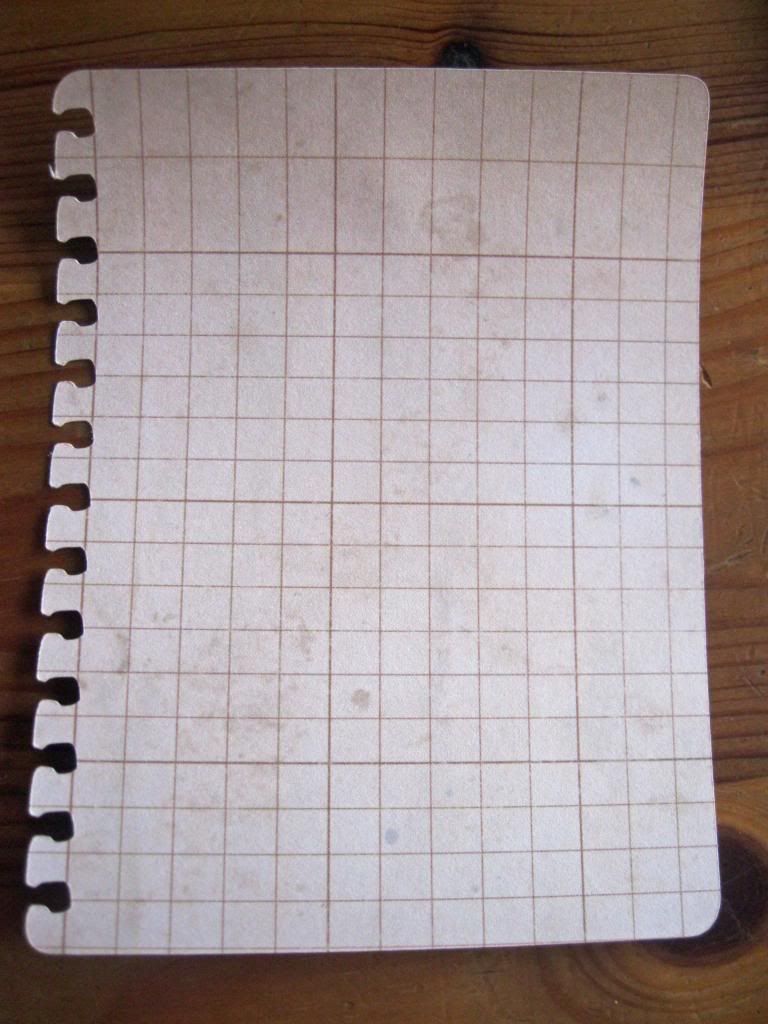
Here's an example of a small journaling block I cut with the
Artiste cartridge and then stamped with the dashed lines from this set. I set my size for 3 3/4" and pressed Shift, Accent 1, and the U key. That key has a lot of wonderful stationery looking type of cuts. It also has the plain rounded corner rectangles which also make great journaling blocks.
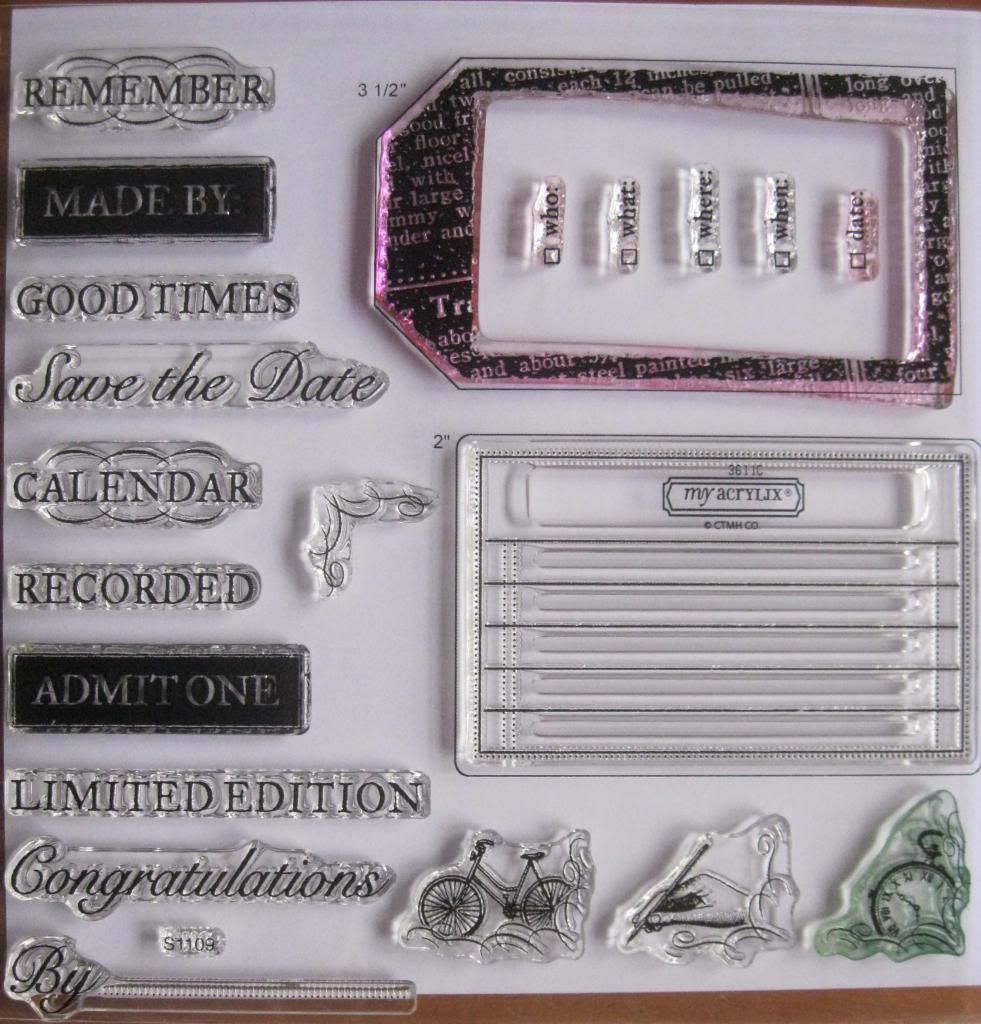
This was the September Stamp of the Month in 2011, Limited Edition (retired).
This was the Summer Special from this past August and September. It's called It's Your Day.
This was the Stamp of the Month this past November and it's called, Capture the Date.
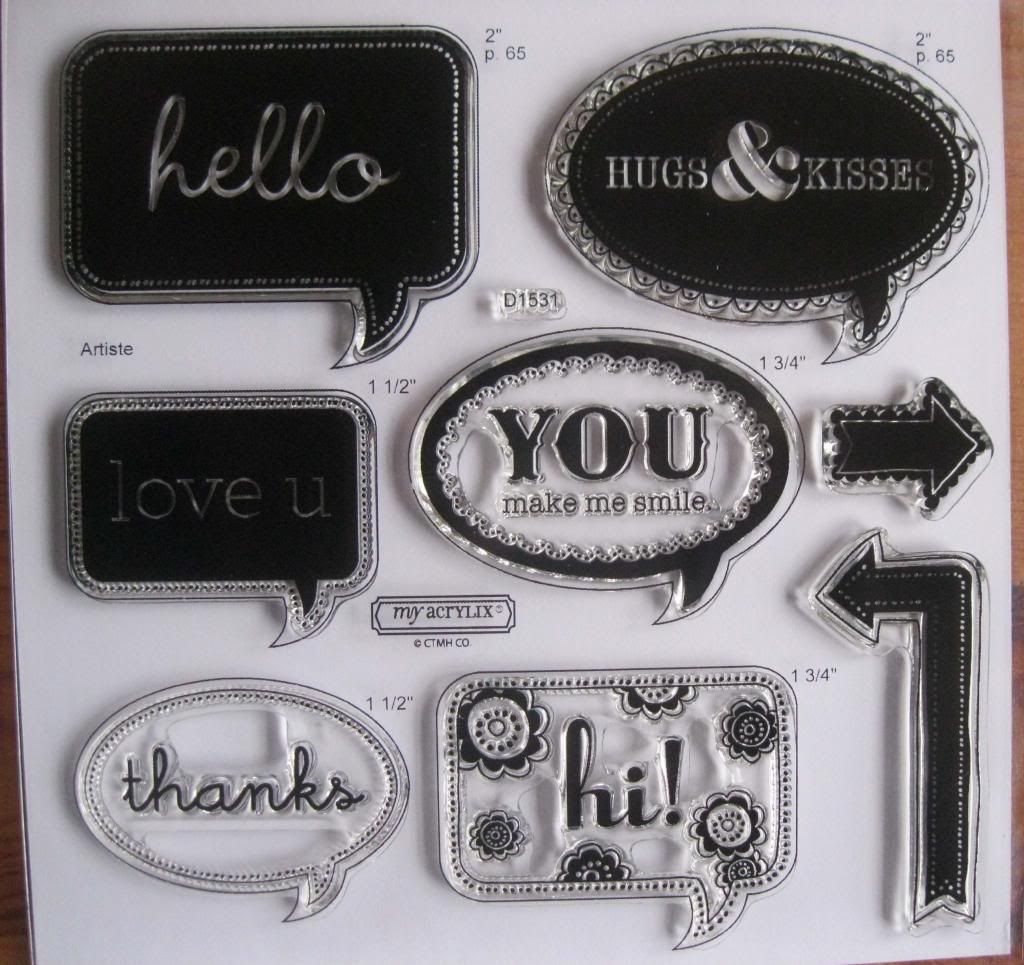
And now we come to something that's still available! Many of you probably have this one. It comes with the
Cricut Artiste cartridge and is called Word Balloons. This would be great for filler blocks when you might not have or want journaling but want a little something to put into the space.
I don't have this one but it is a current stamp set called
Approved.
The
Scholastic papers have a lot of grid patterns, notebook/ledger paper patterns, and library pocket patterns which would work well if they were cut down to a journaling block size or as a background mat for plain cardstock. With some of the grid and ledger patterns, there would be no extra stamping needed. It's hard to see details but here's a picture of the paper pack.
Here's that same cut I did on the Cricut but with one of the Scholastic papers.
I also like the
Avonlea papers because of the colors (yes, I'm a blue and green girl) and some of the family oriented sayings on the "zip strip."
Stay tuned! In my next post I'll show you some of the journaling cards I made.
Pin It












 Posts
Posts

