
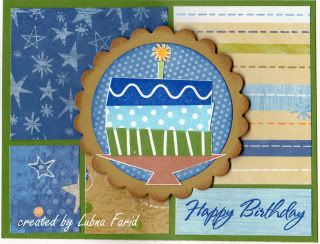
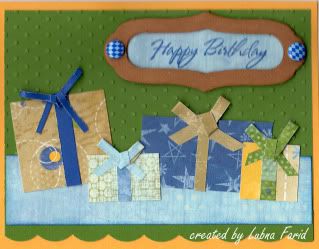
Both cards have some dimension to them so my scanner had a hard time getting everything in focus, but these images are still better than the photos I took of them. Please forgive the blurry Happy Birthday sentiment on the second card. The sentiment is from (C1257) Happy Birthday, which I use a lot! Most of the scraps are from (X7109B) Stardust . I also used (Z578) Corner Rounder, (Z1223) Dimensional Elements Booksmart, (Z2308) Brown Bag Marker, the stamp of the month from last August (D1352) It's Your Day, (1242) Sunflower cardstock, brads from my stash, and Nestabilities.
Thanks for looking!


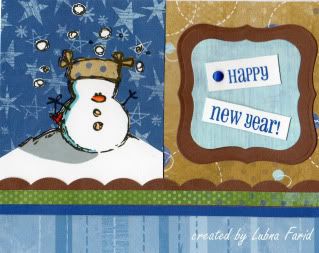
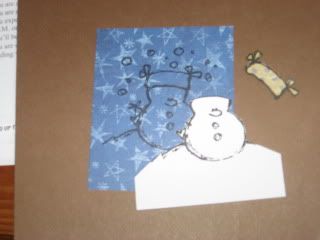 Stamp snowman image onto star patterned paper from Stardust paper pack. Stamp snowman image onto White Daisy cardstock and cut out snowman and snowflakes (don't cut around the arms or hat). Stamp same snowman image onto beige patterned paper (with blue dots and "stitched circles). Cut out the hat only.
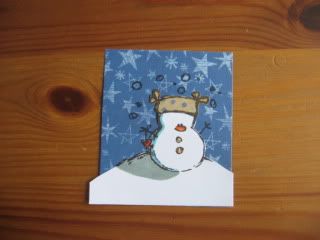 Assemble all snowman pieces together. Glue White Daisy snowman image and beige hat onto the blue star patterned paper. Trim White Daisy cardstock as needed. Use markers to color in stamped image.
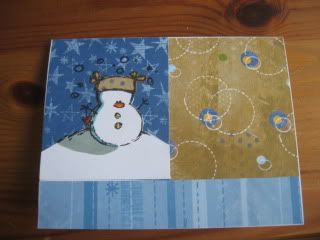 Attach blue star patterned paper to standard sized (4.25" x 5.5") card base on the upper left side. Attach a piece of beige patterened paper to upper right. Attach a strip of 1" x 5.5" light blue striped patterned paper along the bottom. Use corner rounder to add a scalloped design along one edge of a piece of .5" x 5.5" Chocolate cardstock.






 Posts
Posts

