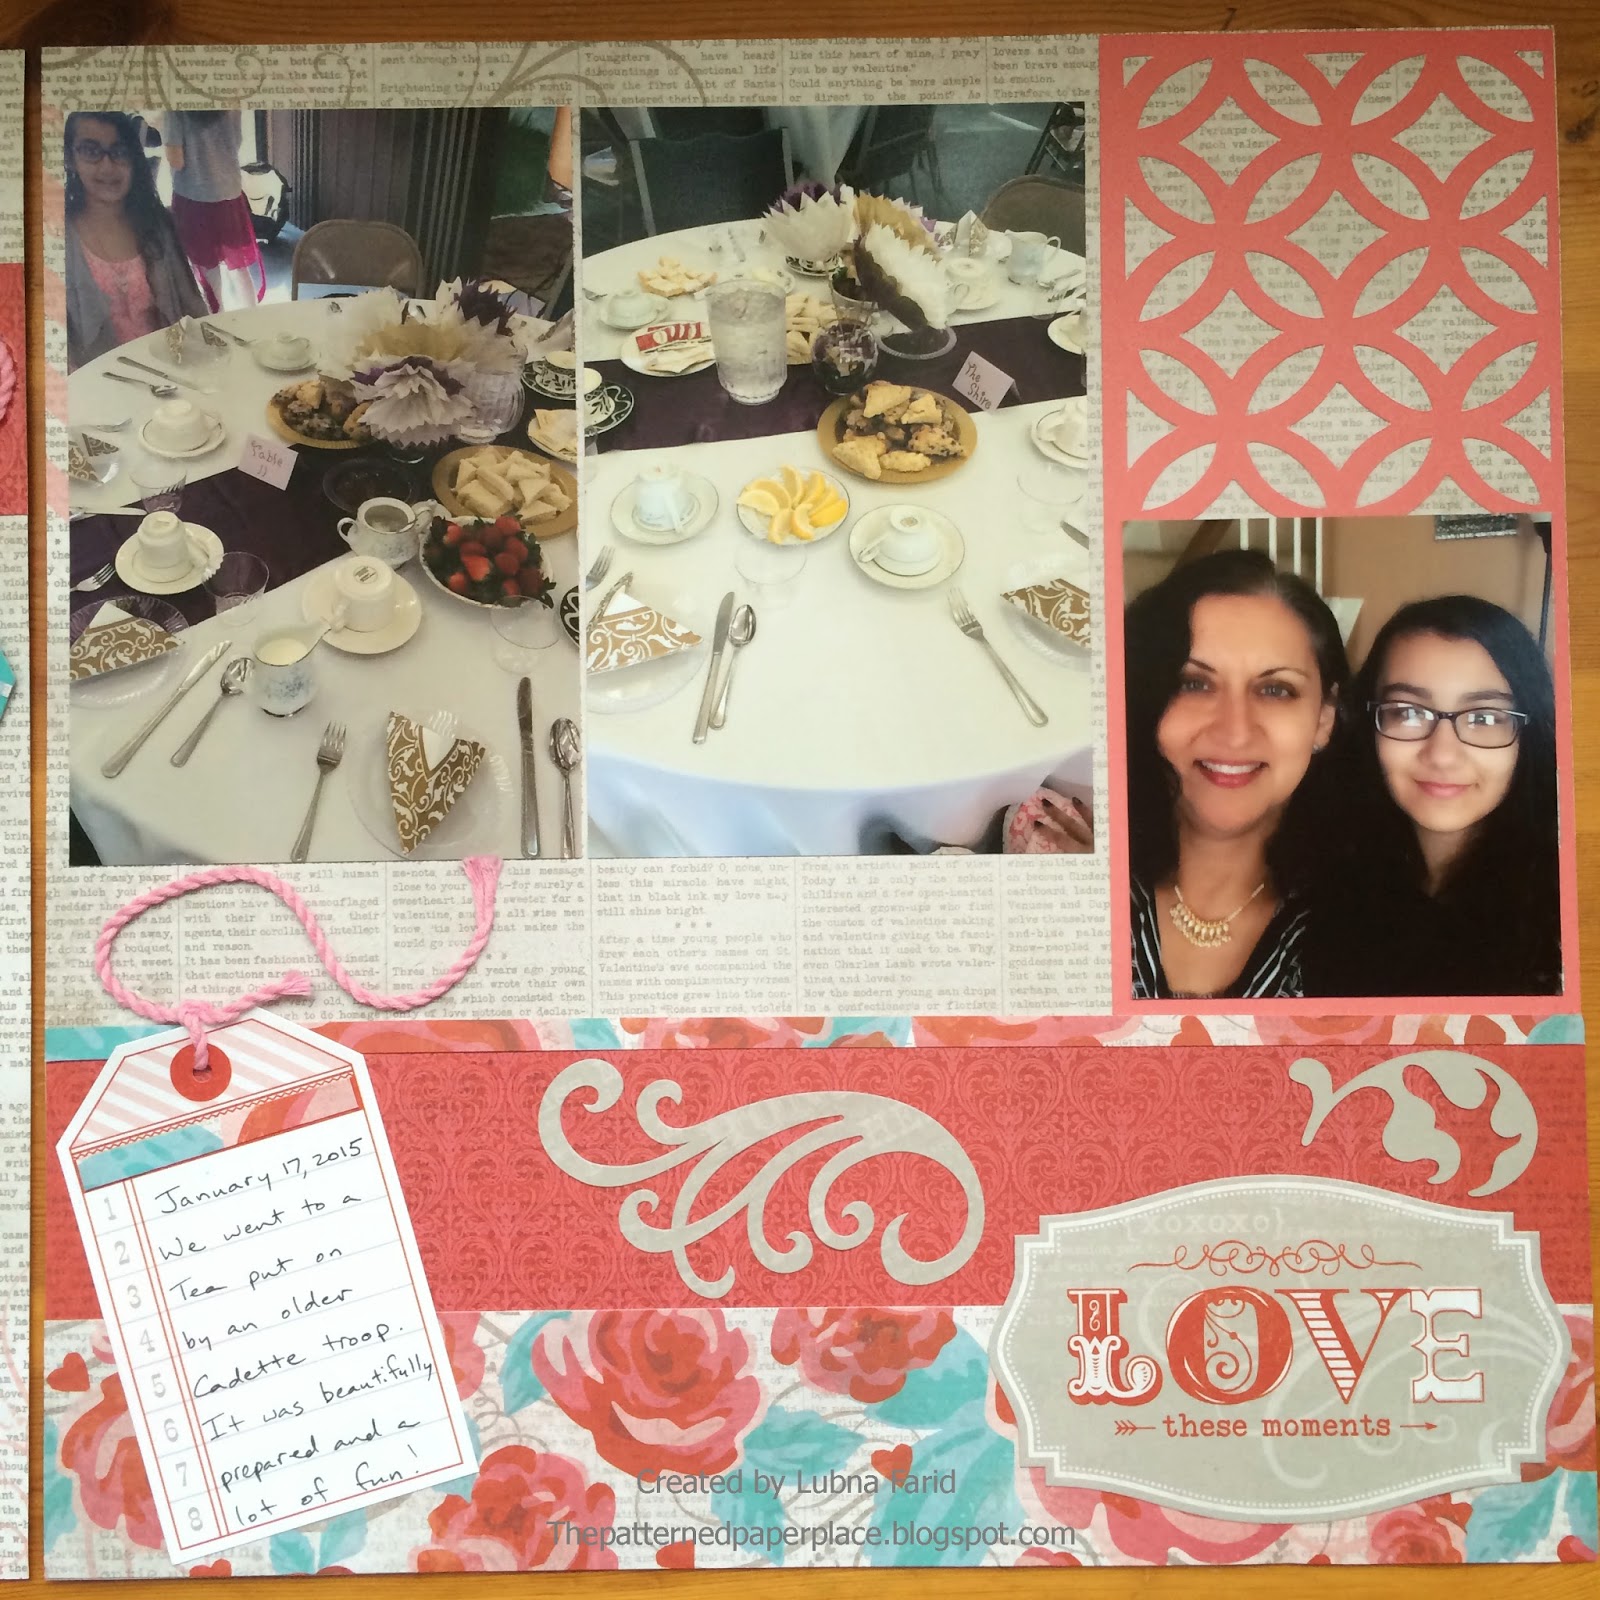
Showing posts with label 12" x 12" layout. Show all posts

Saturday, July 22, 2017

Layout Share and Sneak Peek for New Catalog

If you follow my Facebook page, you will have been seeing a lot of sneak peeks for the upcoming CTMH catalog which goes live on August 1st. I thought I would include some here as well. I made the layout below with older paper but the letters, "VCPC," are made with CTMH's new Thin Cuts (die cut) Block  Alphabet! I also used their new Gold Pearls as an accent on the journaling block and on the lower right side. 


I used foam tape to pop up the die cut letters, which you can see a bit better in this view. 


Here are the items from the new catalog that I used on the layout.

Gold Pearls (pack of 90)
The new catalog also has Bashful Pearls (pink) and White Pearls. I like using pearls as an accent on scrapbook pages since it adds dimension without too much bulk.
Thin Cuts—Block Alphabet
This will be such a helpful tool for layout titles!


Pin It

Monday, July 3, 2017

No Worries Layouts

Back in April, my daughter's Girl Scout troop took a trip to Northbay Adventure Camp and I went along for fun! I used the No Worries paper pack and Complements to scrapbook our pictures. I've been trying to think in terms of embellishment clusters so I also used my Swirly Seashells Stamp + Thin Cuts and some random Picture My Life cards that I have to add little something extra to the layouts.


Pin It

Sunday, October 23, 2016

Flower Market Sunflowers

I had some fun playing with my CTMH Flower Market Cricut cartridge. I cut out a variety of sunflowers and middles, not to mention letters. I LOVE the font on this cartridge! It all worked perfectly for my layout which was about a trip this past summer to a sunflower field at a local farm. The Rustic Home Fundamentals paper pack added the perfect weathered counter balance to the cheery and bright sunflowers.


Pin It

Thursday, August 4, 2016

Happy Times Happy Birthday

One of the things I'm most excited about in the new CTMH catalog are the half size page protectors (6 x 12 vs. 12 x 12). I like to scrapbook a lot of pictures of an event onto a two page layout. I either will add a whole other layout or I'll use Flip Flaps to add more photos. Being able to simply include a half page of extra photos gives even more versatility and I am over the moon to have this option. I'm calling them half page pocket protectors but officially they are Memory Protectors™ Pocket Plus™  and you can find them here. There are a variety so you can choose whether you want to include 4 x 6 photos in a portrait or landscape orientation OR if you want to include 3 x 4 photos in either orientation. Love them!

I used Memory Protectors™ Pocket Plus™ Design 1 and here's the product description from the website: 
Add extra photos or artwork to your layouts with these Memory Protectors™, which feature a full gutter so they lie flat in post-bound albums.
10 protectors – 6" × 12" with 3 horizontal 4" × 6" pockets.

You saw that about the full gutter, right? Wahoo! You can use the in post bound albums, no problem!

So of course the first thing I created when I got my order of new stuff was a double page scrapbook layout with a 6 x 12 page protector in the middle.

Here's the left side of my double layout. The balloons and "Happy Birthday," are cut with the CTMH Artiste Cricut cartridge and the tag is from Art Philosophy, both now retired. I used the Happy Times paper pack which was a special in May. Do you see the hinges on the side of the paper mat? Aren't you proud of me for using them? Those are really old!

I included some envelopes, cards, and stickers from the retired My Crush In the Pink Assortment on the right side of my double page layout. 

Here are both pages with the 6" x 12" page protector in the middle. 

Another view with both pages and the half sized page protector flipped over. I love being able to include more pictures in my layouts without crowding them in.


 So you can probably tell that I tried to really incorporate some of the NUMEROUS embellishments which I already own. I've been organizing this summer and even though I'm not finished with my scrapbook organization, it's so much easier to see what I have and can use. Does anyone remember brads? I have so many! And so many flowers! Here's a close-up of some of the details on the first page.

Even though I used a lot of older supplies which weren't all in one coordinated set, I think they meshed pretty well. Let me know what you think!
Pin It

Wednesday, April 29, 2015

New York Visit Studio J Layouts

Have I told you how much I love Studio J, Close to My Heart's digital scrapbooking program? I know I have...but it bears repeating! You can probably tell that it's been a busy time for me from my lack of blog posts. Not much time to be creative (which I really miss--it makes me cranky when I can't be creative). But I really wanted to do some scrapbooking so I went to my stalwart friend, Studio J, to help me out.

Aside from being something that I can work on in little bits of time and save without worrying that my layouts will get ruined or moved around before I finish them, Studio J is incredibly flexible. I had a lot of photos that I wanted to scrapbook from a recent visit to NY. I started with preset layouts and then I added pictures to each of my layouts. So even though a layout may be listed as having enough photo wells for twelve pictures, you can add additional photo wells to suit your needs.

If you count how many photos I included in my last layout pictured here, you'll see that it comes to twenty-three! That would have taken me quite a while to scrapbook, let alone to print, enlarge, and shrink down all the pictures I needed! I finished these layout in less than two hours working in short little intervals of time over the course of two days -- I even worked on them a little in the morning between getting my son off to school and getting ready to drop off my daughter at her school. The majority of my time was spent on deciding which pictures I should include.

I used the Wanderful paper packet, which is still currently available to purchase. But I also love how some of my favorite papers which have been retired, are still available in digital format. Anyway, take a look and let me know what you think! You can click on the thumbnails to get a larger view.


Pin It

Sunday, March 15, 2015

Snowhaven Layout

Now that we have some beautiful binder albums, it's easier than before for me to add my layouts directly to my album and move my layouts around. I've always liked including different types of layouts (divided page protectors along with the 12 x 12 page protectors) in my album and now I can see how it will look right away. I worked on a double layout today which has a regular undivided page protector on the left and a divided page protector on the right. Sorry for the quality of the last two photos. They have a glare from light reflecting off of the page protectors but I wanted to show you how they looked in the album.

 Right side  

 Left side (divided)

The layouts side by side

I decided to use the divided page protector on the right as opposed to doing a large layout because I had photos from two different events. While I wanted to include the second event in my album, my pictures were not of great quality (took them from far away with my phone in a poorly lit room and then enlarged them) and I only ended up with two okay photos. Including them along with the other photos just seemed to make more sense than focusing on them in a whole other layout. I still wanted my layouts to look a little cohesive so I used the same paper pack, Snowhaven, one of my favorites and tried to repeat some elements, such as they way I did my journaling in a list format and in strips. The pocket card was cut from the Artfully Sent Cricut cartridge and the snowflakes were cut from the Art Philosophy Cricut cartridge. I also repeated using some Oceanside Sequins (these will be available starting April 1st) as bullets for my journaling list and as the centers of some of the snowflakes.

Here's a close up of the journaling block on the right with the snowflake and sequin detail.

Pin It

Tuesday, March 3, 2015

Heartstrings Layout

Did you know that the Heartstrings and Hopscotch papers will no longer be available after March? We will have a new Seasonal Expressions catalog which you can order from beginning on April 1st with new papers and other amazing products but this month will be your last chance to purchase these two wonderful paper packs. I have to say, Heartstrings has become one of my favorites! Here's a layout I made with the Heartstrings paper pack,  Heartstrings Complements, the Art Philosophy Cricut cartridge and the Artbooking Cricut cartridge.


Pin It

Thursday, February 26, 2015

Ford's Theater Layout

Here's a simple double layout that I made documented a visit to Ford's Theater. I had a lot of photos and I wanted to include a pamphlet so while I did omit some photos, I also used a handy dandy Flip Flap to fit a couple more onto my layout. You can see it lifted in the second photo. This is a pretty photo heavy layout and there wasn't a ton of room to add too many decorative elements but I used the Art Philosophy cartridge to cut out some stars and banners. What do you think? Should I add anything else? A few more stars? Or just leave it as is?


You can kind of see the edge of my new Ruby Floral D-Ring album, which I love! If you were thinking of getting any with the special, it ends at the end of this month and the Teal D-ring has already sold out!Pin It

Monday, February 16, 2015

Seaside Tea House Scrapbook Layouts

I've been using my Cricut cartridges so much lately that I thought I'd experiment with them a bit on some layouts. The sorbet colored backings for the journaling blocks on the upper left and upper right of these layouts are actually cards from the Artfully Sent cartridge (they are on the letter i key, Sentiment function). But the tea themed cutouts go well with the theme of my layout so I cut them smaller than I would for a card and trimmed them a bit in order to make them fit. The one with the teapot actually has a sentiment cut out below it but I covered that up with a slim scrap of juniper paper. 
I also like how the Seaside paper worked so well with these photos even though it's not a beach themed layout. I sponged the edges of all the papers in the layouts with Chocolate Distressing ink. A long while back, CTMH sold a CD with different exclusive fonts. I still have those fonts on my computer and I used one of them for my journaling - this font is called CTMH Heritage. If you do any digital scrapbooking on Studio J, you've probably seen it.


Pin It

Saturday, March 29, 2014

Last Days for $5 Double Layouts

Today, I was able to finish all of the layouts for my daughter's third grade pictures which will go into her school album. It took me just a couple of hours to complete five digital double layouts (ten pages total)! Most of that time was spent in locating my pictures on various computers and flash drives! The actual scrapbooking portion  took very little time and I was really pleased with the outcome. Yay! This also let me take advantage of Close To My Heart's Studio J sale, $5 double layouts in March. If you haven't already tried it, take a look here: http://lubna.ctmh.com/ctmh/products/studioj.aspx

Here are a couple of the layouts I did today.


I also used the "No Limits" layout option to see how processing photos through Studio J will come out. I just plugged in photos (both 4 x 6 and 3 x 4) on two double layouts. I will let you know how they turn out!

Pin It

Saturday, March 15, 2014

Picture My Life Scrapbooking Program

Have you heard of the new Picture My Life sets from Close To My Heart? The sets come with beautiful cards in different sizes along with a variety of pocket page protectors. They are perfect for pocket scrapbooking (similar to the Project Life style). Lately, I've found that pocket scrapbooking has been working really well for me, so that's what I've been using for this year's and last year's family albums. I am loving the Picture My Life sets! I've started my 2014 album with the gorgeous Skylark set, although I imagine that I may end up mixing and matching. Here are a few examples of some of my pages so far. You can click on the photos to see them larger.

You can see that I journaled on some of the Picture My Life cards and left some blank just to use as a filler. I actually layered a smaller card onto a larger card below.

I included a little Shrinky Dink in one of the pockets below by adhering it to one of my Picture My Life Cards. It was the "swap" we made for an event for my daughter's Girl Scouts troop. Having a little pocket for it was pretty convenient! I also layered a cropped picture onto a Picture My Life card instead of using it at the full 4 x 6 inch size.

Since my work schedule has increased this school year. I'm finding that this has been a way for me to get my photos into my scrapbooks faster than "traditional scrapbooking." I can still include some 12 x 12 inch layouts if I want and some digital layouts if I want (particularly if I get them this month with the Studio J sale--Yay!).
If you'd like to take a closer look at or order one of the Picture My Life sets, go to my online retail site. Click here!

Would you like to win a Picture My Life set? Close to My Heart has a contest going on right now! 

From CTMH: In our Mix & Match Contest, tell us which Picture My Life™ Scrapbooking Program is your favorite and why in a comment on Facebook, Jeanette Lynton's blog, or YouTube before March 31, 2014, for your chance to win your choice! 

You can watch the following video for more info!

Pin It

Sunday, December 22, 2013

Summer Camp Layout with Sparkle and Shine

I had a bit of scrapbooking time today, believe it or not. It's been forever since I've pulled my supplies out! The layout I'm posting is a very simple one but I wanted to show you how I used the Juniper papers from the Sparkle and Shine papers to make a layout that was completely unrelated to a Christmas theme. I love the versatility of these papers!

Pin It

Thursday, August 22, 2013

Tommy Layout from Cherish

We are on Day 5 of my, "Use up all of my Tommy Paper Pack," project!
 
For this double scrapbook layout, I used the pattern called Portrait Collection on page 76 in Cherish. Cherish contains 50 double layouts and comes with step by step directions as well as an example of the layout. I love the examples since they sometimes show how you can modify a layout and how to add different embellishments. I have the original hardcover version but it now comes in a softcover spiral bound book which allows it to be very affordable at $14.95.
 
I wanted to keep the nautical theme out of these pages since I don't know what pictures I want to use on them and I stuck with mostly a blue and yellow color scheme. I added a piece of Slate cardstock as a backing and I added a few narrow strips of paper which go down vertically in between the yellow and striped paper on the left and in between the striped paper and Slate cardstock on the right. I didn't embellish much except for the, "Treasured Moments," strip I cut from one of the zip strips in this pack. Once I know which pictures I will use on these pages, I may embellish more, but for now, I kept it simple.
 
Both pages, side by side
 
Left page
 
Right page
 
This seems to be a good layout to use when you don't want to have to fuss too much! I changed the order of the papers a bit and since I already had the narrow strips of paper earlier from some other cut (two are the narrow zip strips from the tops of the papers which I usually cut off right away), I think I just used two slices of my paper trimmer to get the pieces I needed! One was for the striped paper. I then adhered one striped piece on the Honey patterned paper on the left and one on the Slate cardstock on the right. Then I cut my Outdoor Denim in half and adhered those pieces on after adding my narrow vertical strips. How easy!
 
Tomorrow will wrap up my Tommy challenge so be sure to come back and see my final projects!
Pin It

Sunday, August 18, 2013

Tommy Pattern Nine Scrapbook Layout

Believe it or not, I hadn't touched the Tommy papers even though I had bought them with the release of the Spring/Summer 2013 Idea Book all the way back in January. I love them. The colors are vivid and the designs are crisp and bold. Sometimes when I really like a paper pack, I'm afraid of cutting into it. My hoarding tendencies come out and I don't want to ruin the paper. Crazy, no? So, I thought I needed to challenge myself. I decided to try to use my whole pack of Tommy...all at once!
 
For the next several days, I will feature the different items I made using the Tommy Paper Pack. Here's what it looks like and what comes in a pack.

I used Make It From Your Heart, Volume 1, pattern 9 on page 22 for the following scrapbook layout.
I also used the Tommy Assortment pictured below to add some pizazz to my layout.
Pin It

Tuesday, August 13, 2013

Autumn Layout with Artbooking

I've only had a relatively short time to play with the new Cricut Artbooking cartridge but I am sooo excited about it! There are a number of great options for scrapbooking layouts that I am looking forward to trying out. Here is one double layout I made with a fall themed overlay, beautiful maple leaves, the word "Autumn," two coordinating photo mats, and the journaling all cut with the Artbooking cartridge.

Left page
 
Right page
The orange striped paper is from the Babycakes paper pack (so you can see that you can use it for things besides baby themed projects). This layout came together fairly quickly. I'm looking forward to making some more layouts with Artbooking!Pin It

Saturday, May 11, 2013

Love your Layout: May 2013

I'm so excited! Close To My Heart has added a new feature to Studio J (digital scrapbooking) to make it even more versatile. Now we can add photo wells and resize photo wells. There's even a blank layout so we can make our own digital designs. Whoo hoo! Did I say I was excited? Because I am! I still appreciate having so many predesigned layouts for the convenience and speed but I am so happy that now I can experiment with a blank canvas too! Remember, it's free to try Studio J and there's no software to purchase. You only pay for any layouts you want printed and/or for any jpegs. All you need to try Studio J is an internet connection. Click here to try it out!

Here's the latest Love Your Layout video:

Pin It

Monday, March 4, 2013

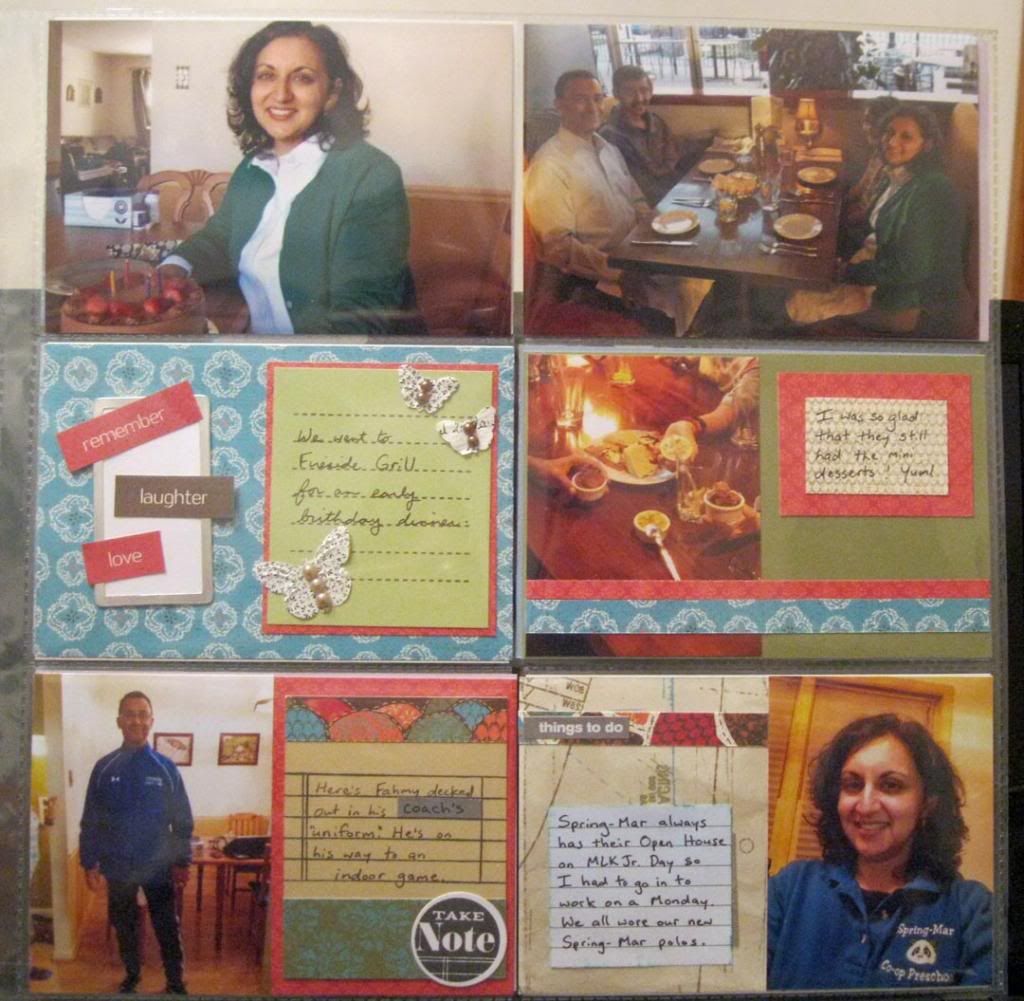
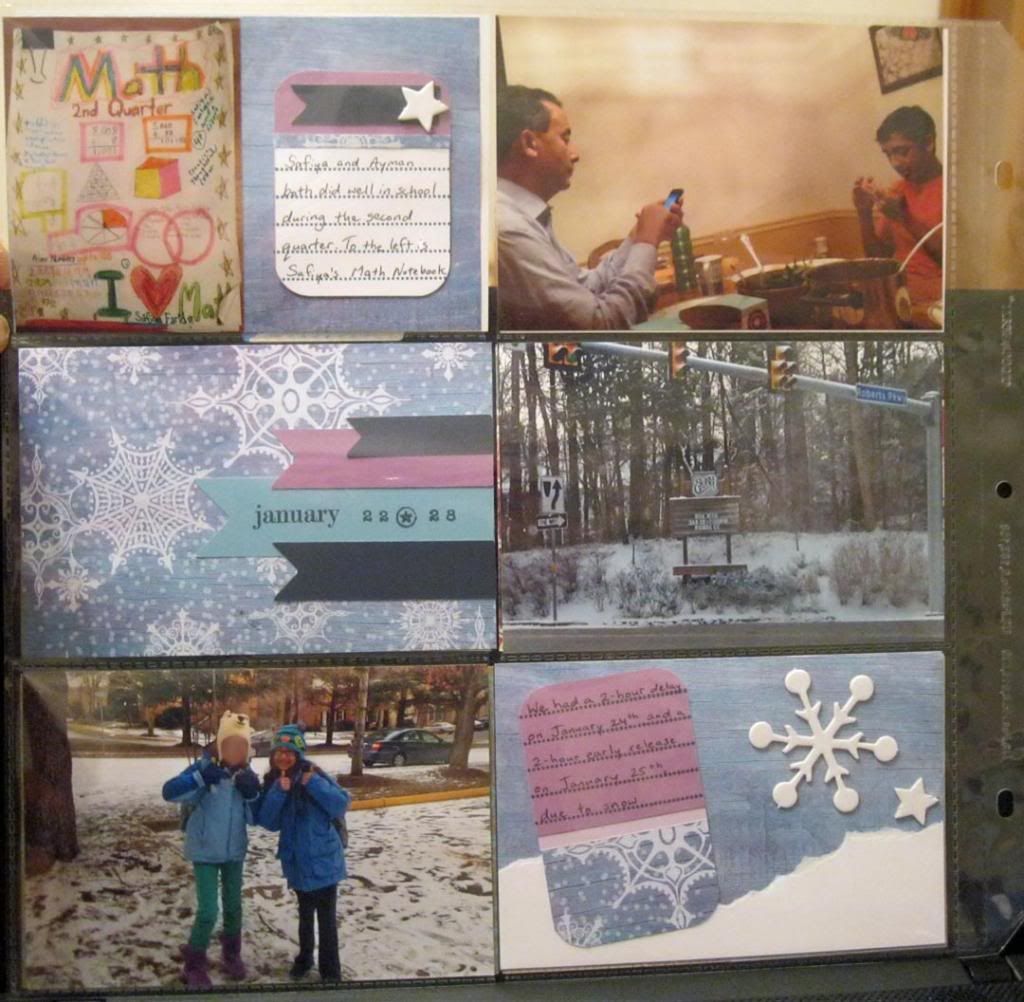
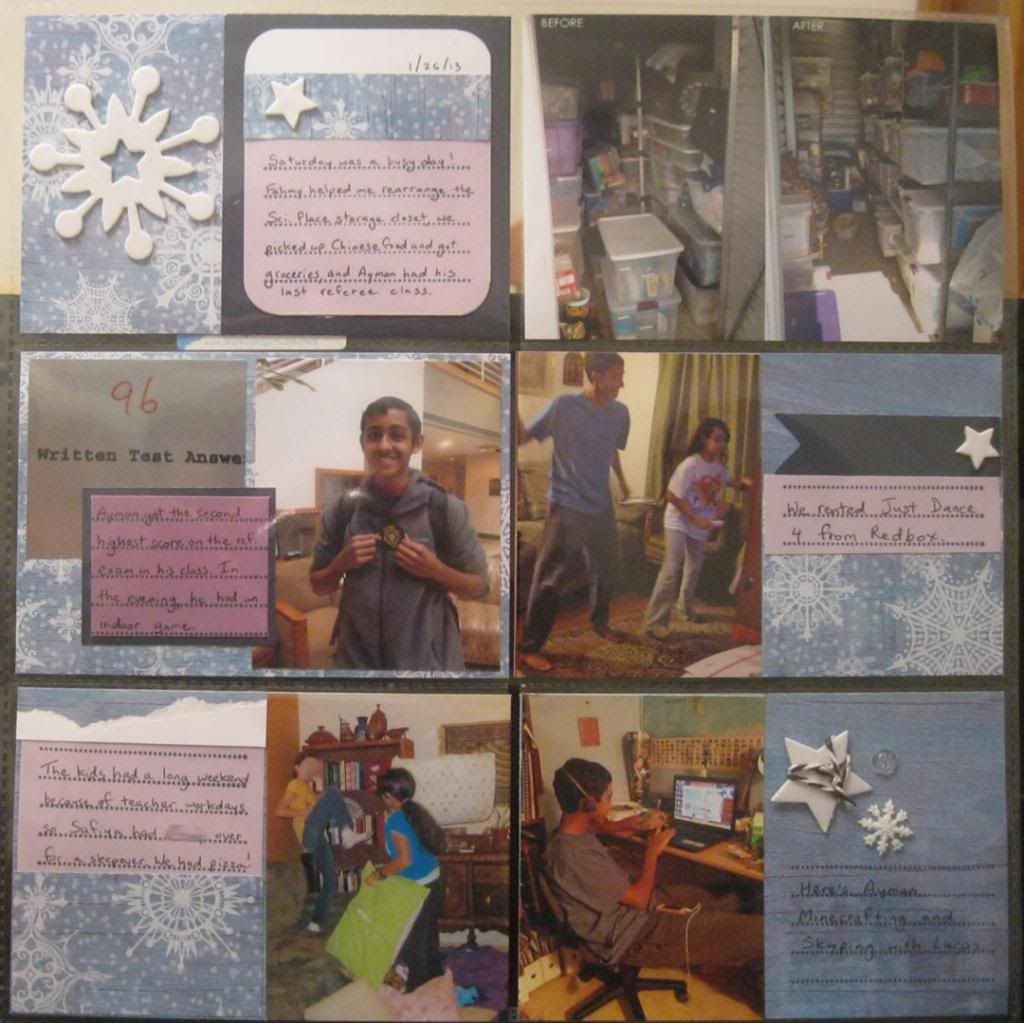
Project Life CTMH Style Weeks 3 and 4

I'm really enjoying my Project Life CTMH Style project. I love making "little canvases" to slip into my 4" x 6" pockets and I love being able to scrapbook just one picture of something as opposed to thinking I need a certain number of pictures from one event or topic to create a 12" x 12" layout.
 
You may recall that I combined weeks 1 and 2 into one double layout. Weeks 3 and 4 each have their own double layouts since I had more pictures for these weeks. I love the fact that I can be somewhat flexible as to how many pictures I take per week.
 
This is the left side of week 3. You might recognize my journaling cards from this post. I modified them a bit to fit my layouts.
 
Here's the facing page of week 3.
 
This is the left side of week 4.  I used some very old paper...so happy I am finally using it!
 
And here is the right side of week 4.

Week 5 is currently spread out all over my coffee table!
Pin It
Related Posts Plugin for WordPress, Blogger...